Welcome to Linklever
This guide exists to help you get started with Linklever.
You can jump to where you like with the navigation on the left or start with Setup.
Linklever Setup
Here are the steps to set up Linklever.
Installation
To install Linklever, download the installer for your operating system and processor.
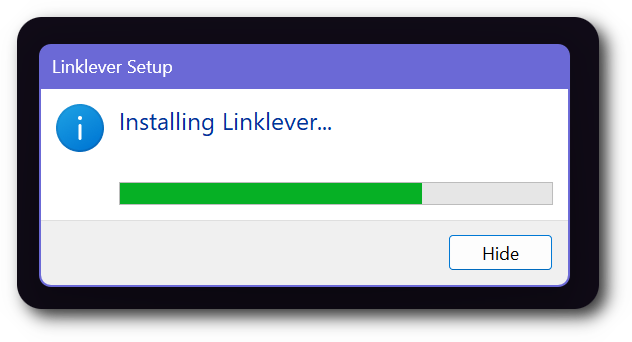
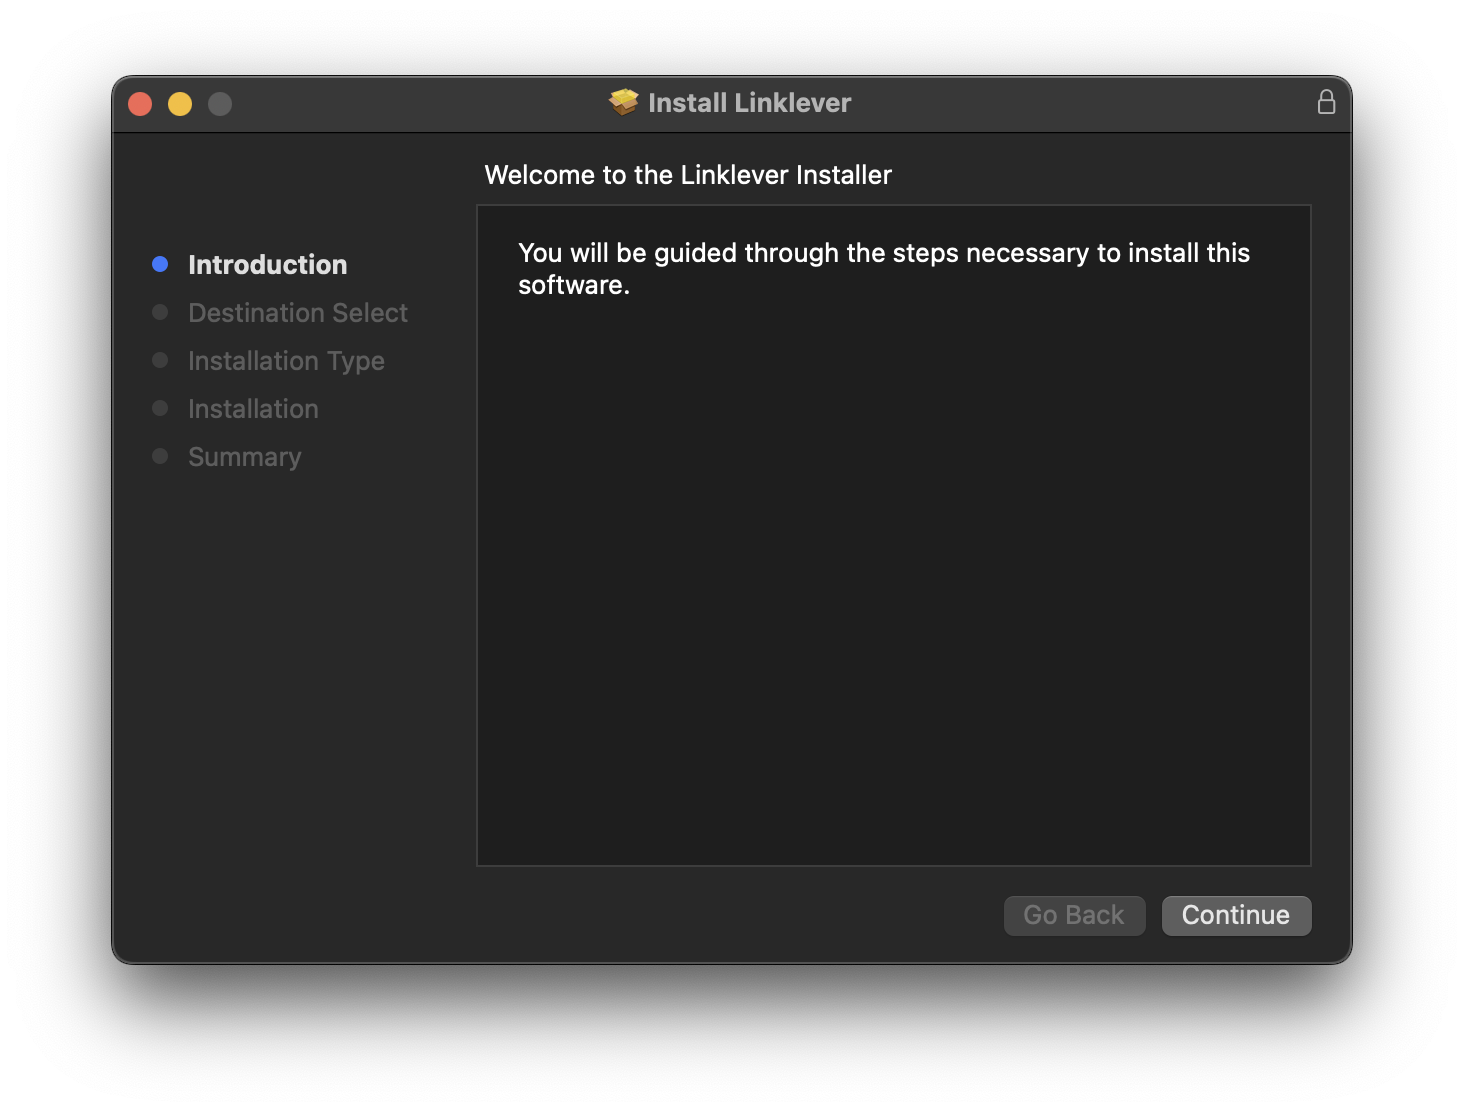
Then, run the installer and follow the prompts.
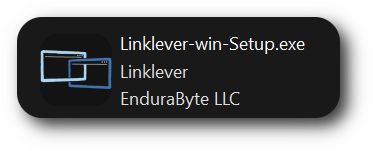
Windows
The installer is a self-contained exe.
macOS
The installer is apkg file.

macOS Admin Privileges
The macOS installer gives the option to install for the user or for the system.
- When installed for the user, the installer does not require admin privileges.
- When installed for the system, the installer requires admin privileges.
The app itself does not require admin privileges.
Linux
The app is distributed as an AppImage. No installation is necessary, but you must make the image executable.
Making the AppImage executable
In your terminal, navigate to the file and run chmod +x ./Linklever.AppImage.
Or you can use your desktop environment. On Gnome, right click the file, click Properties, and click Executable as Program.
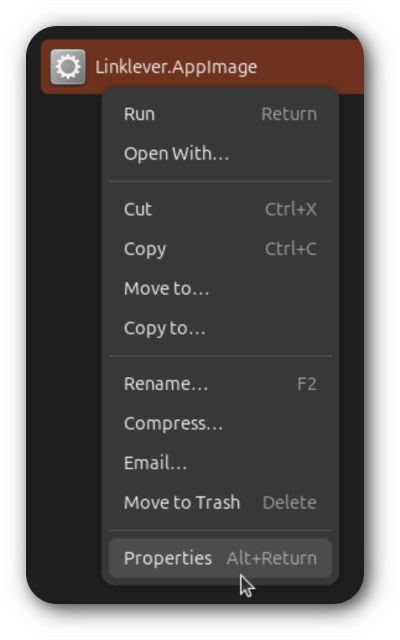
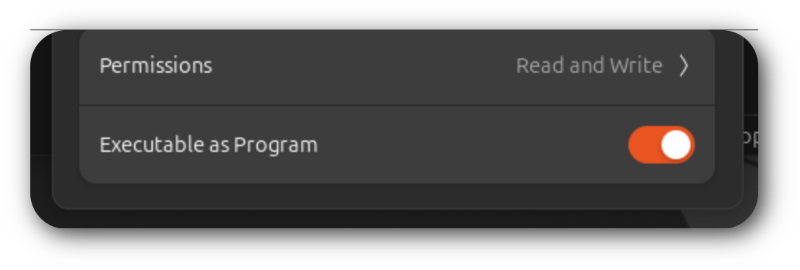
Now you can run the program by running ./Linklever.AppImage in your terminal or by double-clicking it in your desktop environment.
Next
Add a license.
Add a License
If you have not yet, please purchase a license.
You may evaluate Linklever without a license. There is no evaluation period or restriction, but Linklever will remind you periodically to buy a license.

Shortly after your payment succeeds, you will receive an email with your license file Linklever-Key-your-email.llkey. For assistance, please reach out any time to [email protected]. We may take up to one business day to respond.
Download the file and remember where you saved it.
To add the license, follow the instructions for the Settings tab.
Next
Set Linklever as your default browser.
Set Default Browser
To set Linklever as the default browser, follow the Settings tab instructions.
Next
Enjoy the app! Please reach out any time to [email protected]. We may take up to one business day to respond.
Overview
The app has an address bar and below that some tabs.
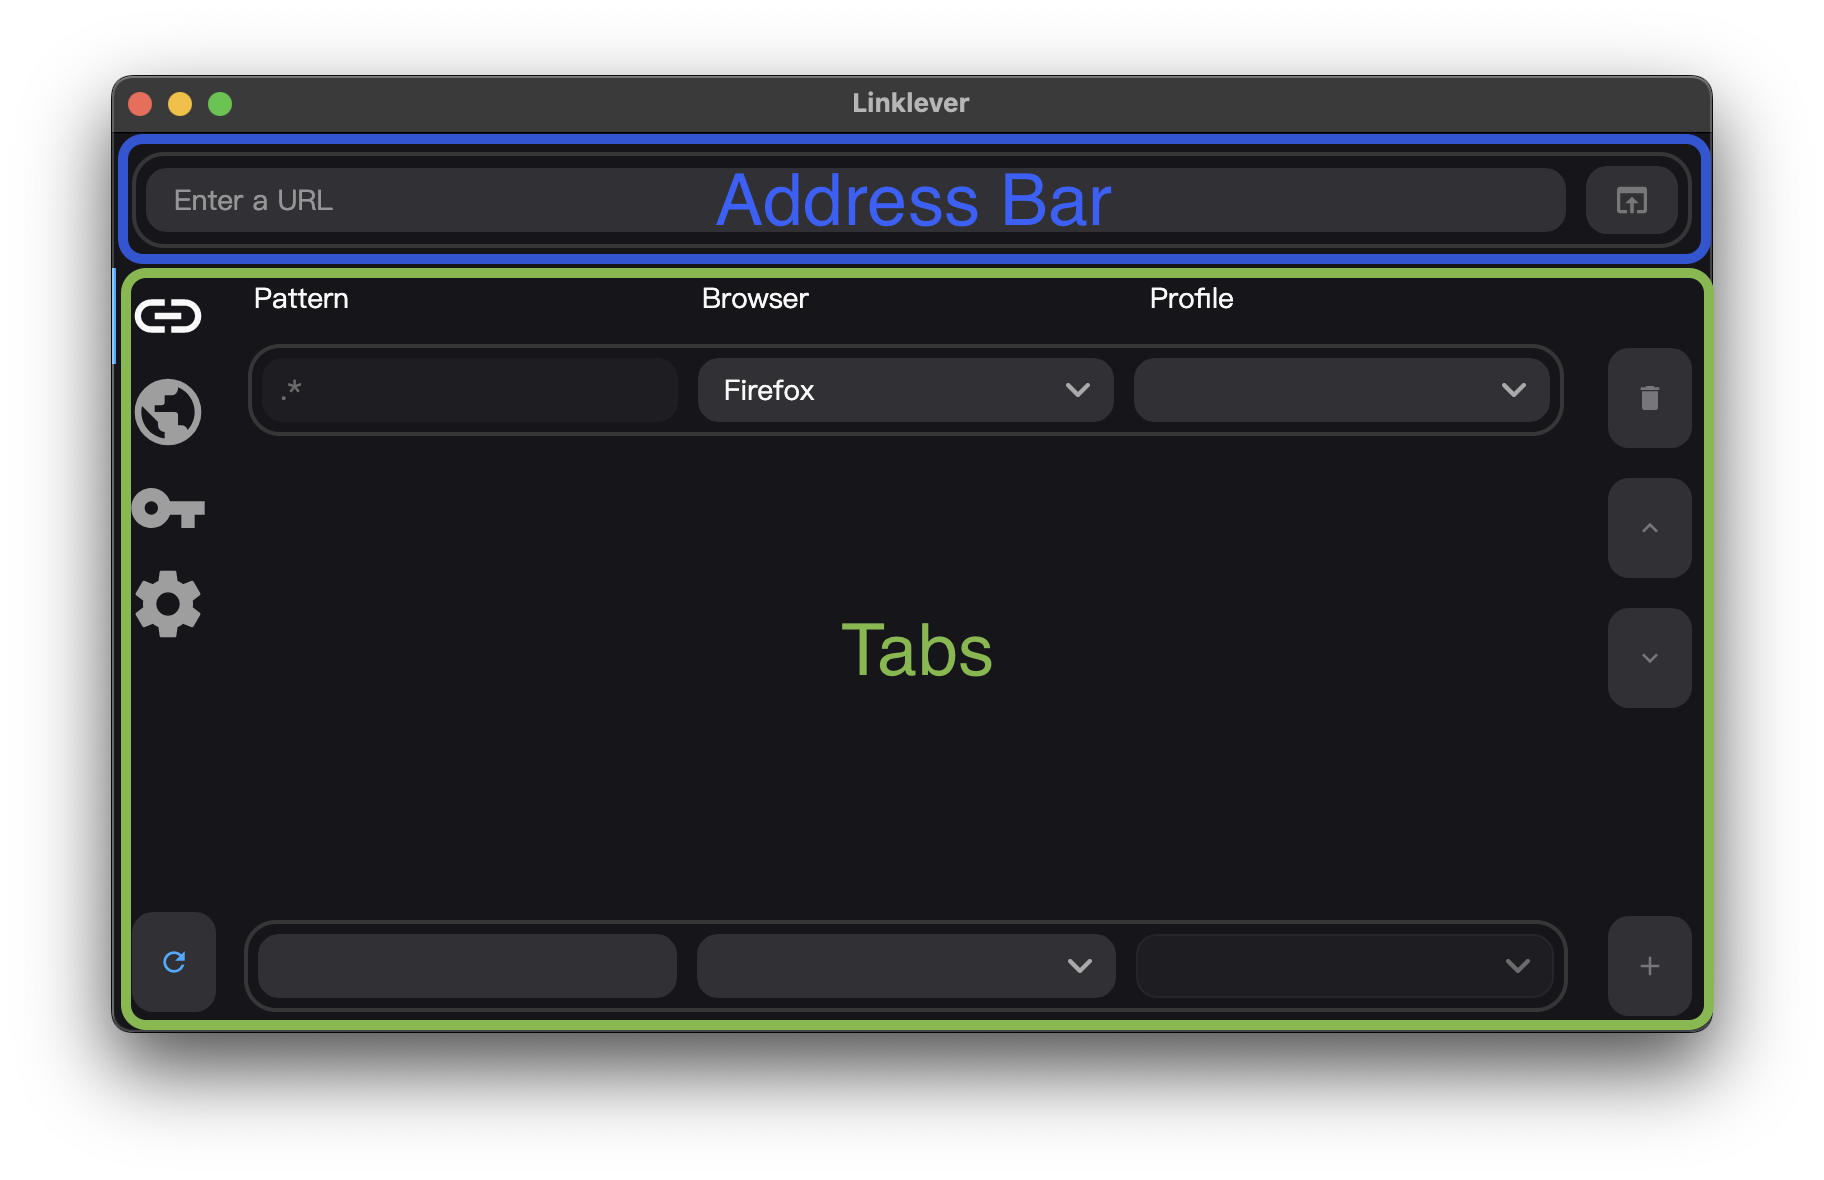
Address bar
When you enter a URL and click the Launch button or press Enter, the app will match the URL against you rules and open the matching browser.
Tabs
The tabs are:
Rules
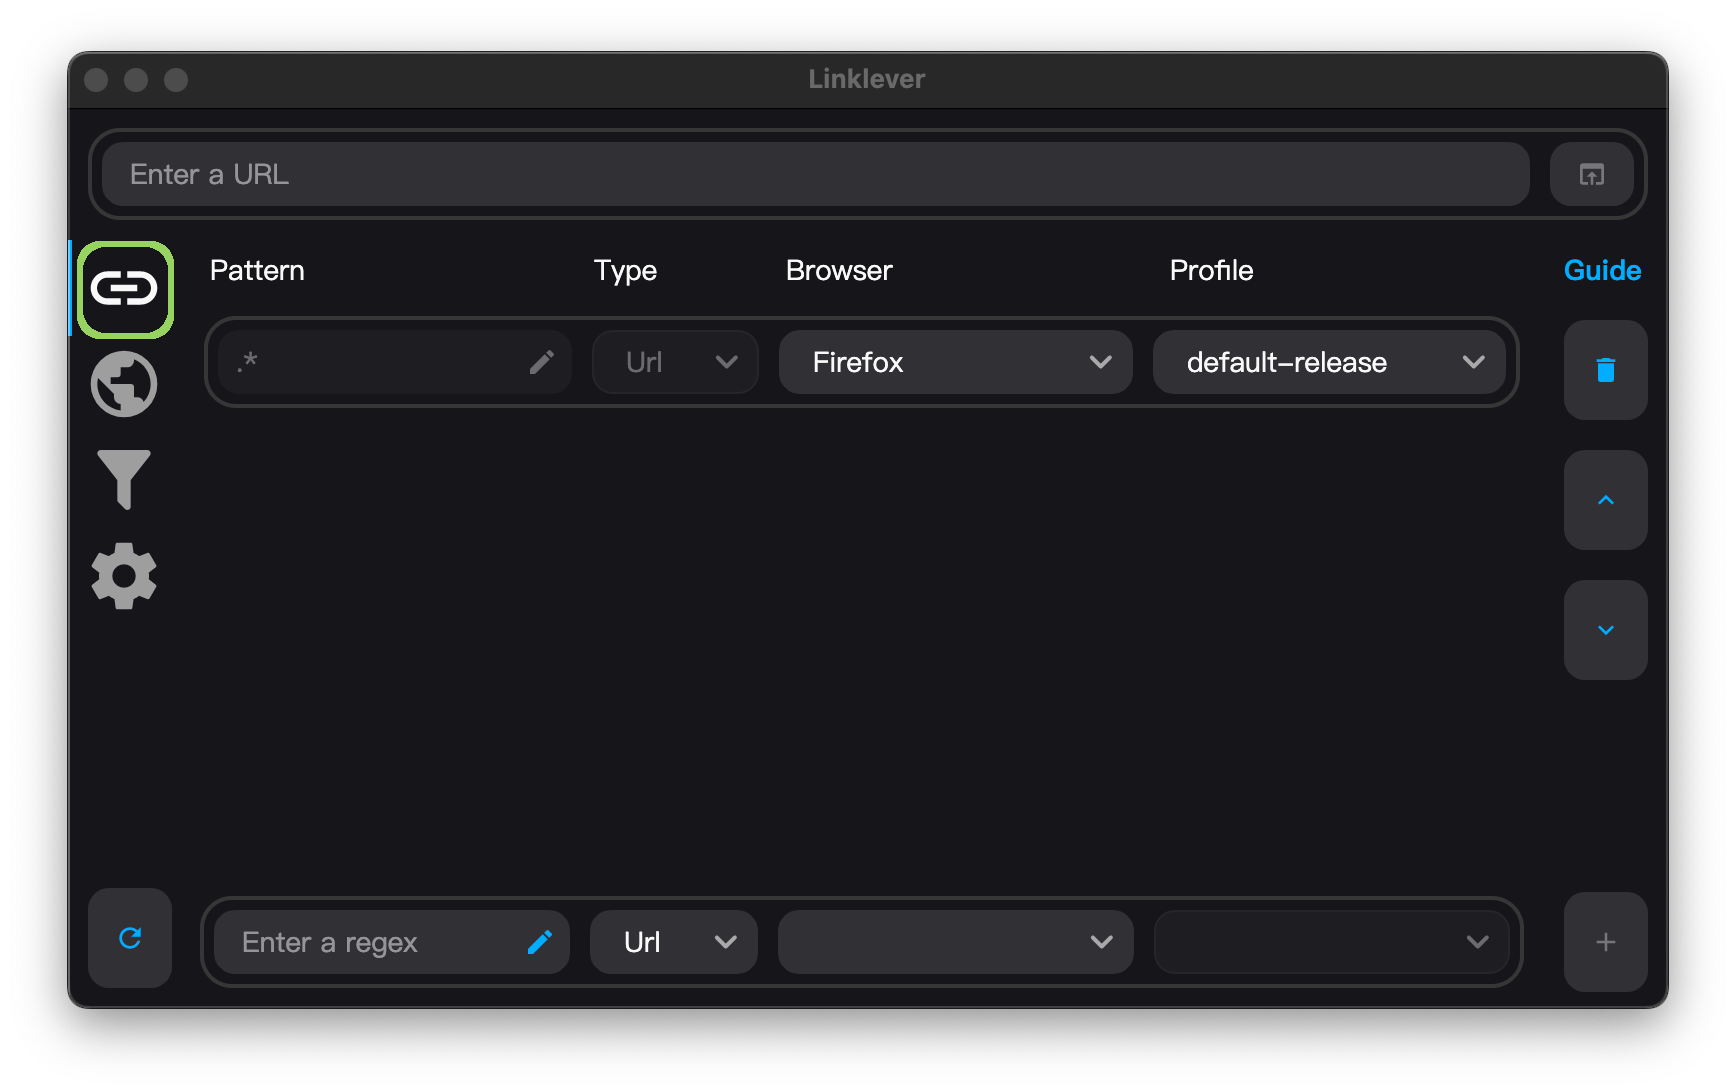
The Rules tab lists rules. Rules tell Linklever which browser to open.
When opening a link, Linklever starts at the top of the rule list. It moves down and selects the first matching rule. If there are multiple matches, it selects the first match. If there is no match, it selects the catch-all rule, which matches any URL.
Anatomy of a Rule
Each rule consists of a pattern, a type, a browser, and a profile.
Pattern
The pattern matches a URL or app name.
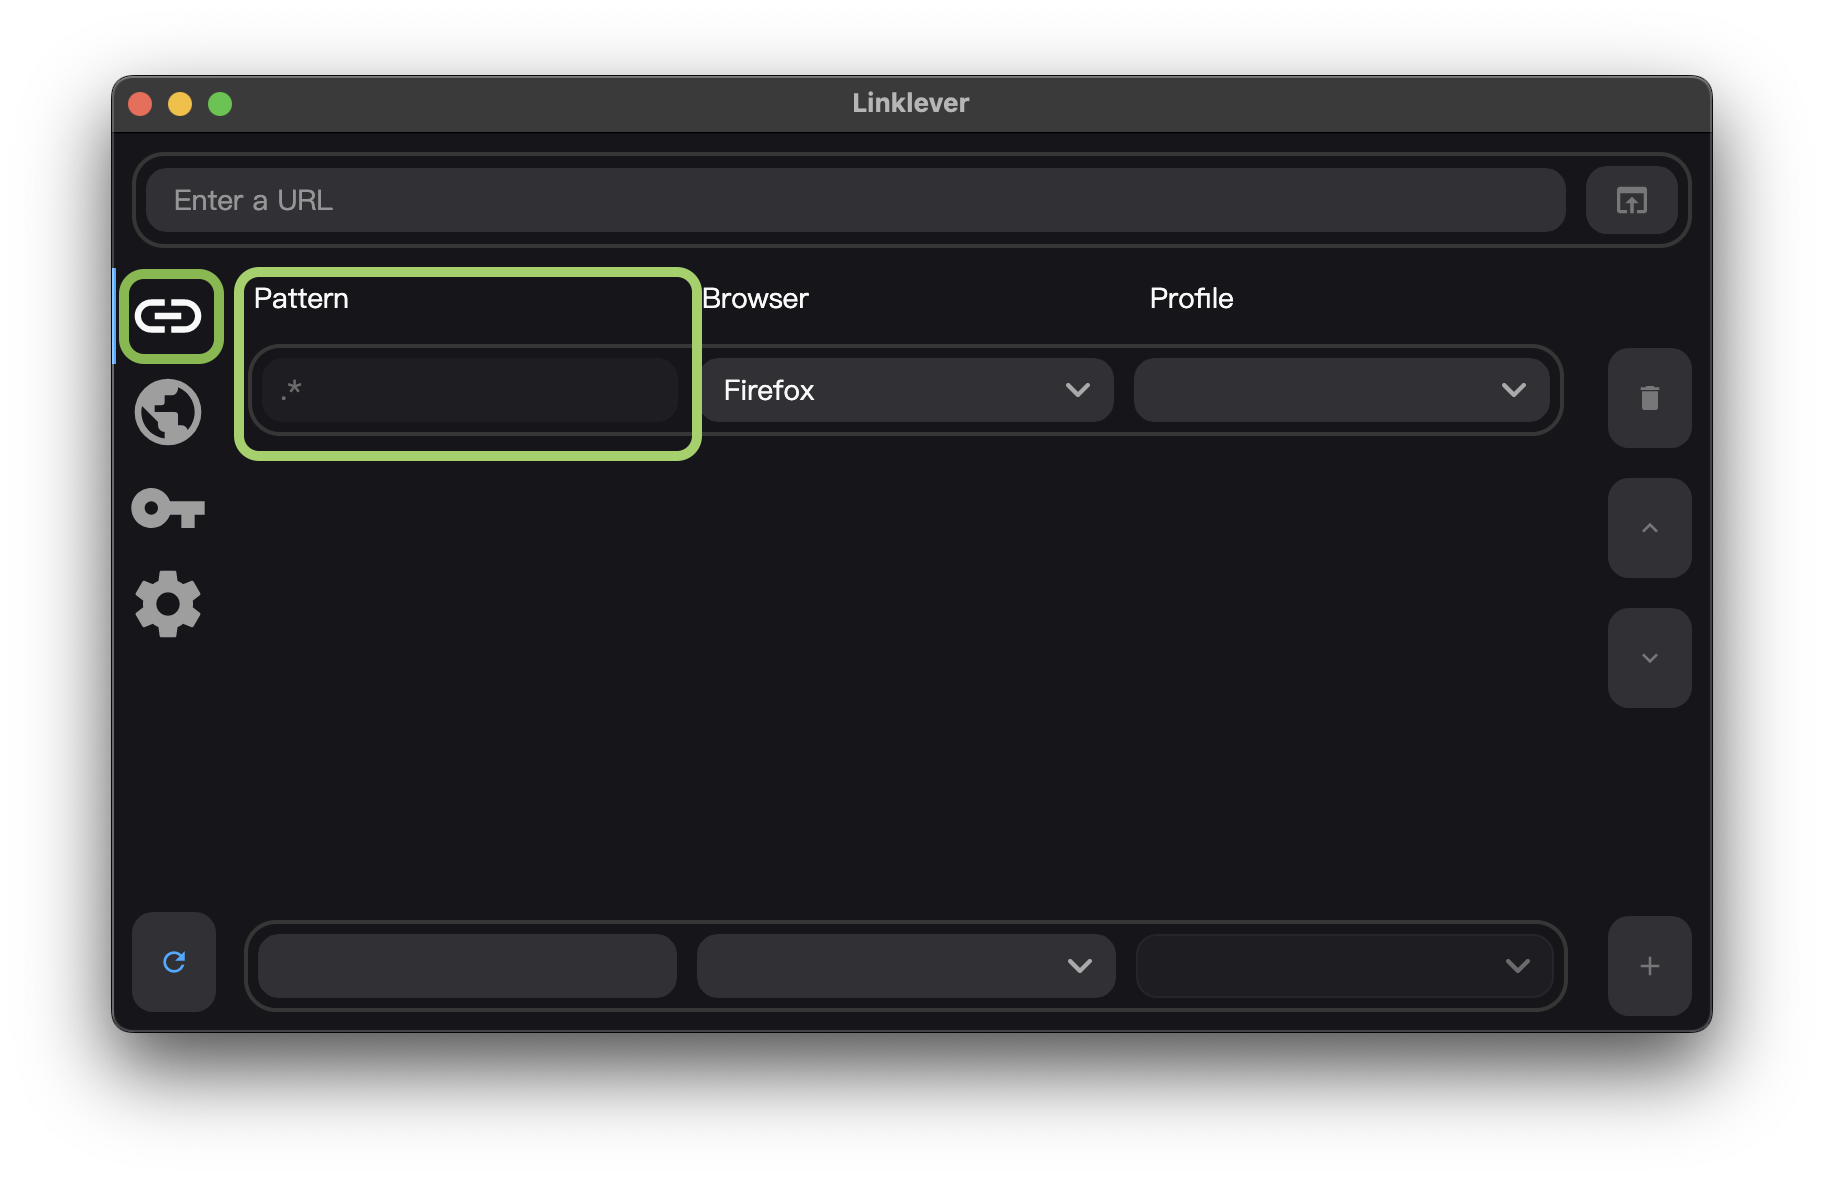
For help creating patterns, follow our Pattern Guide.
Type
The type specifies how Linklever handles a matching link.
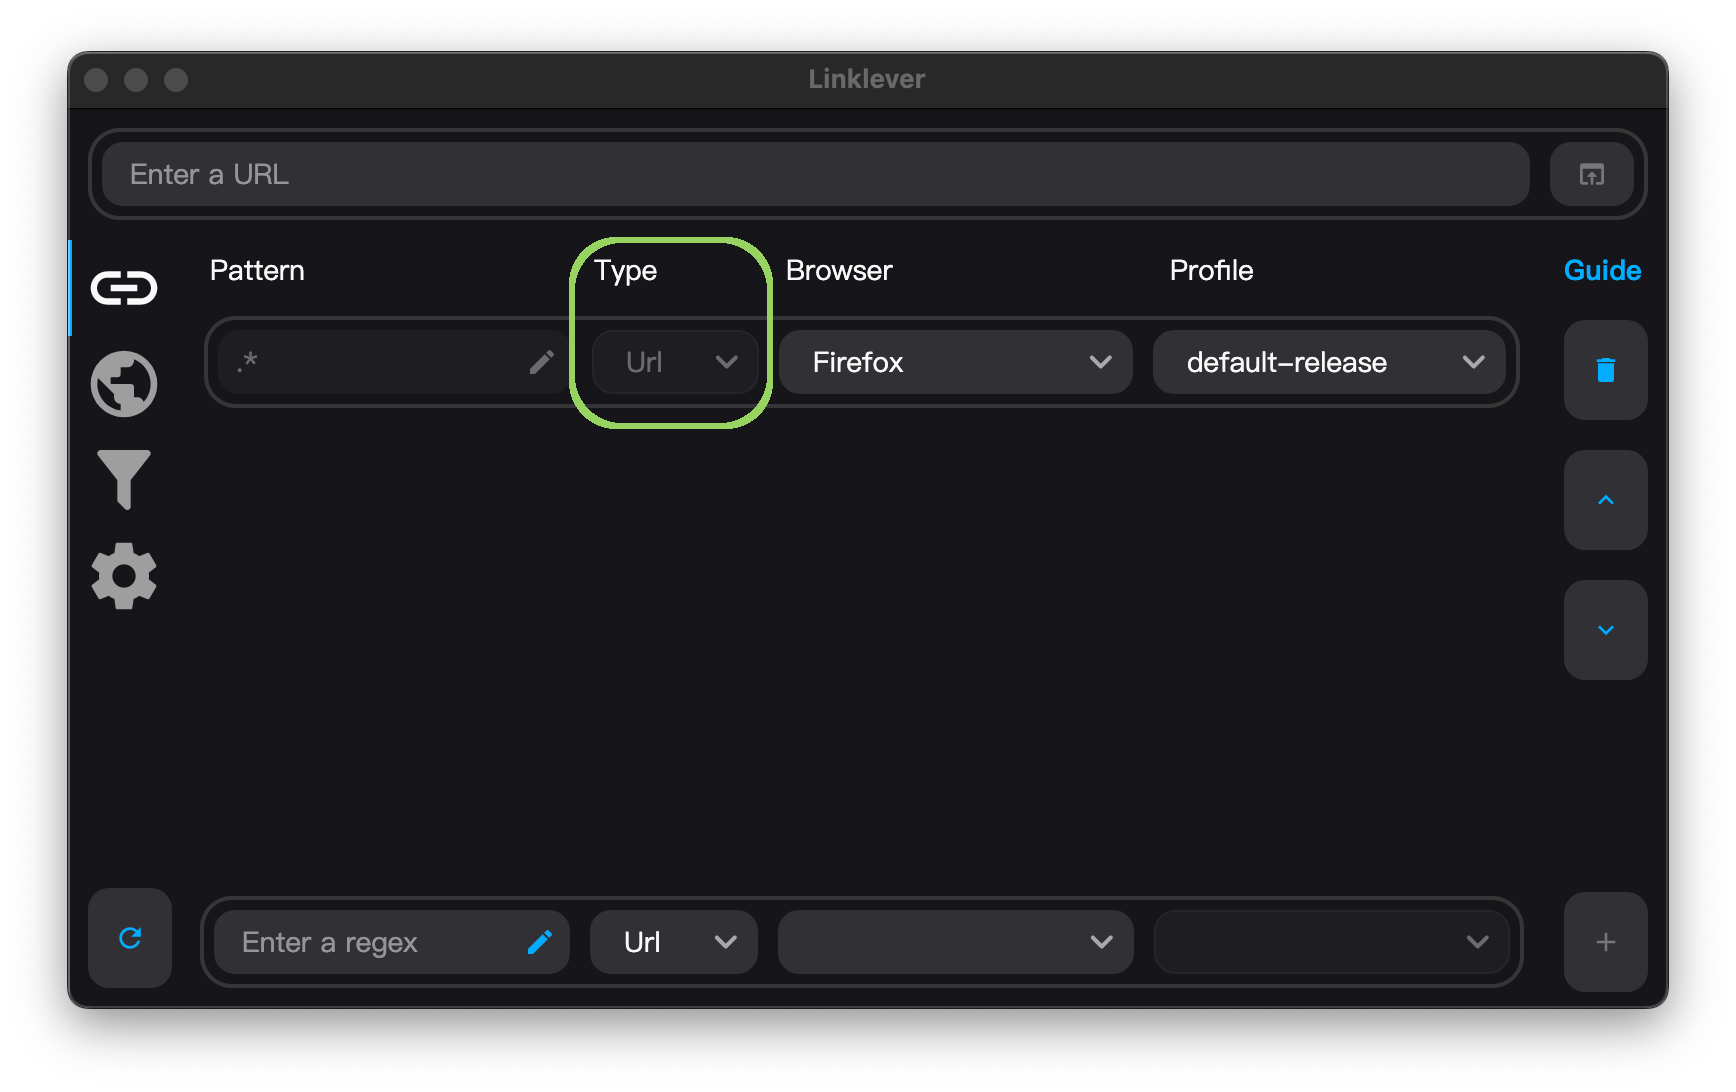
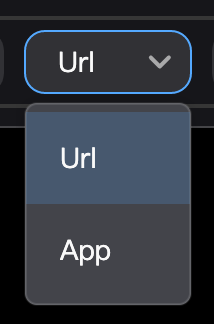
URL
Linklever chooses a browser by matching the URL.
For example, if Pattern is example.com, Type is Url, and Browser is Safari, then all links for example.com will open in Safari.
App
Linklever chooses a browser by matching the name of the app that has focus when link is clicked.
For example, if Pattern is Microsoft Teams, Type is App, and Profile is Microsoft Edge, then all links opened in Microsoft Teams will open in Edge.
On macOS, support for the App rule type requires that Linklever remain running.
On Linux, support for the App rule type has some dependencies.
Ask
When a URL matches an Ask rule, a browser picker appears. You can type to search for a browser and select one with the arrow keys and Enter or by clicking on it.
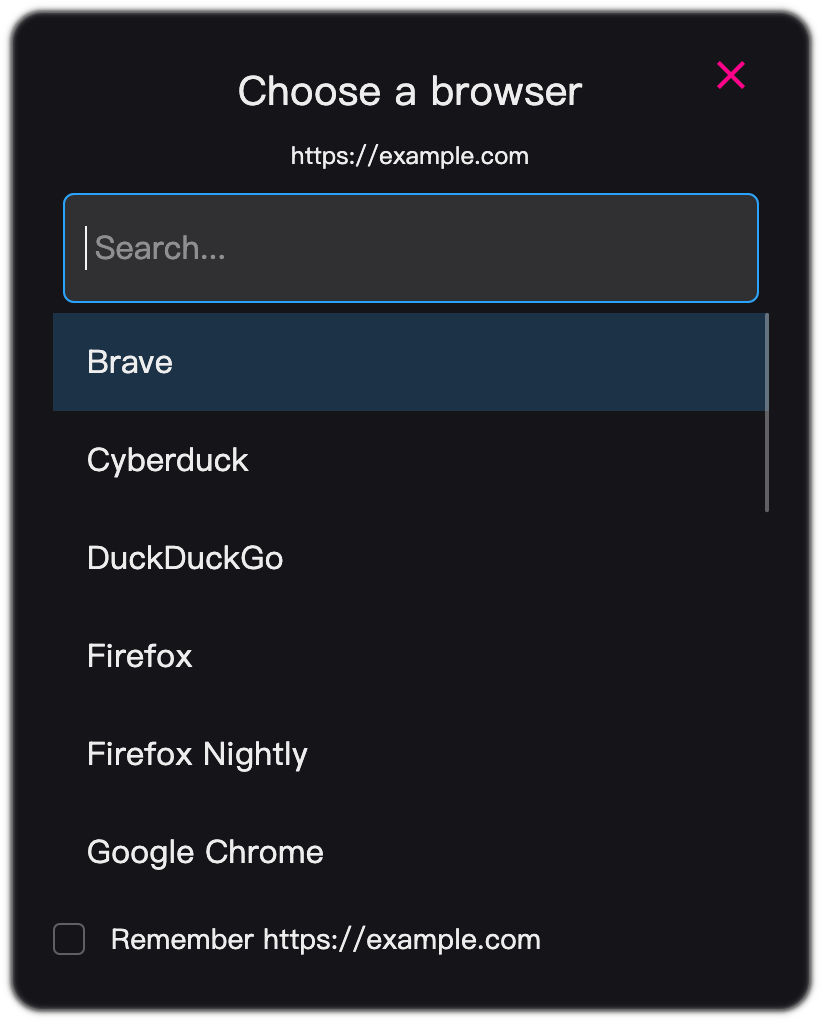
If there is more than one profile for the selected browser, a profile picker appears.
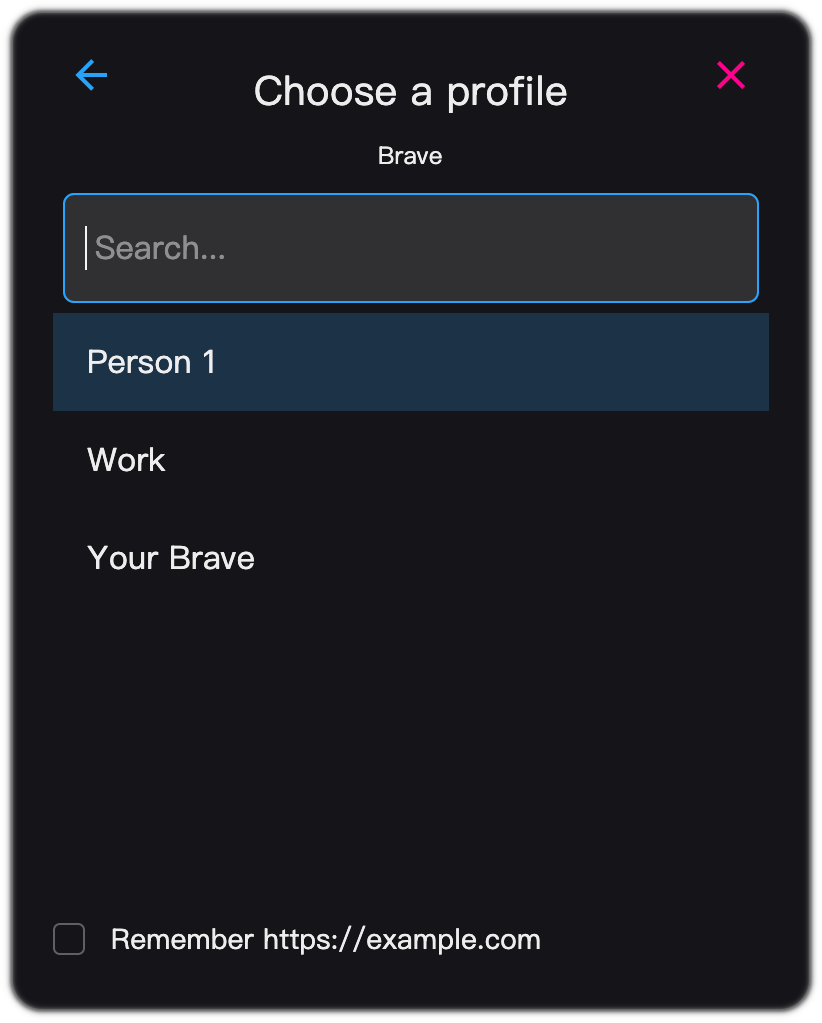
You can check Remember to create a new rule for the URL.
App
This is the app (usually a browser) that Linklever will open.
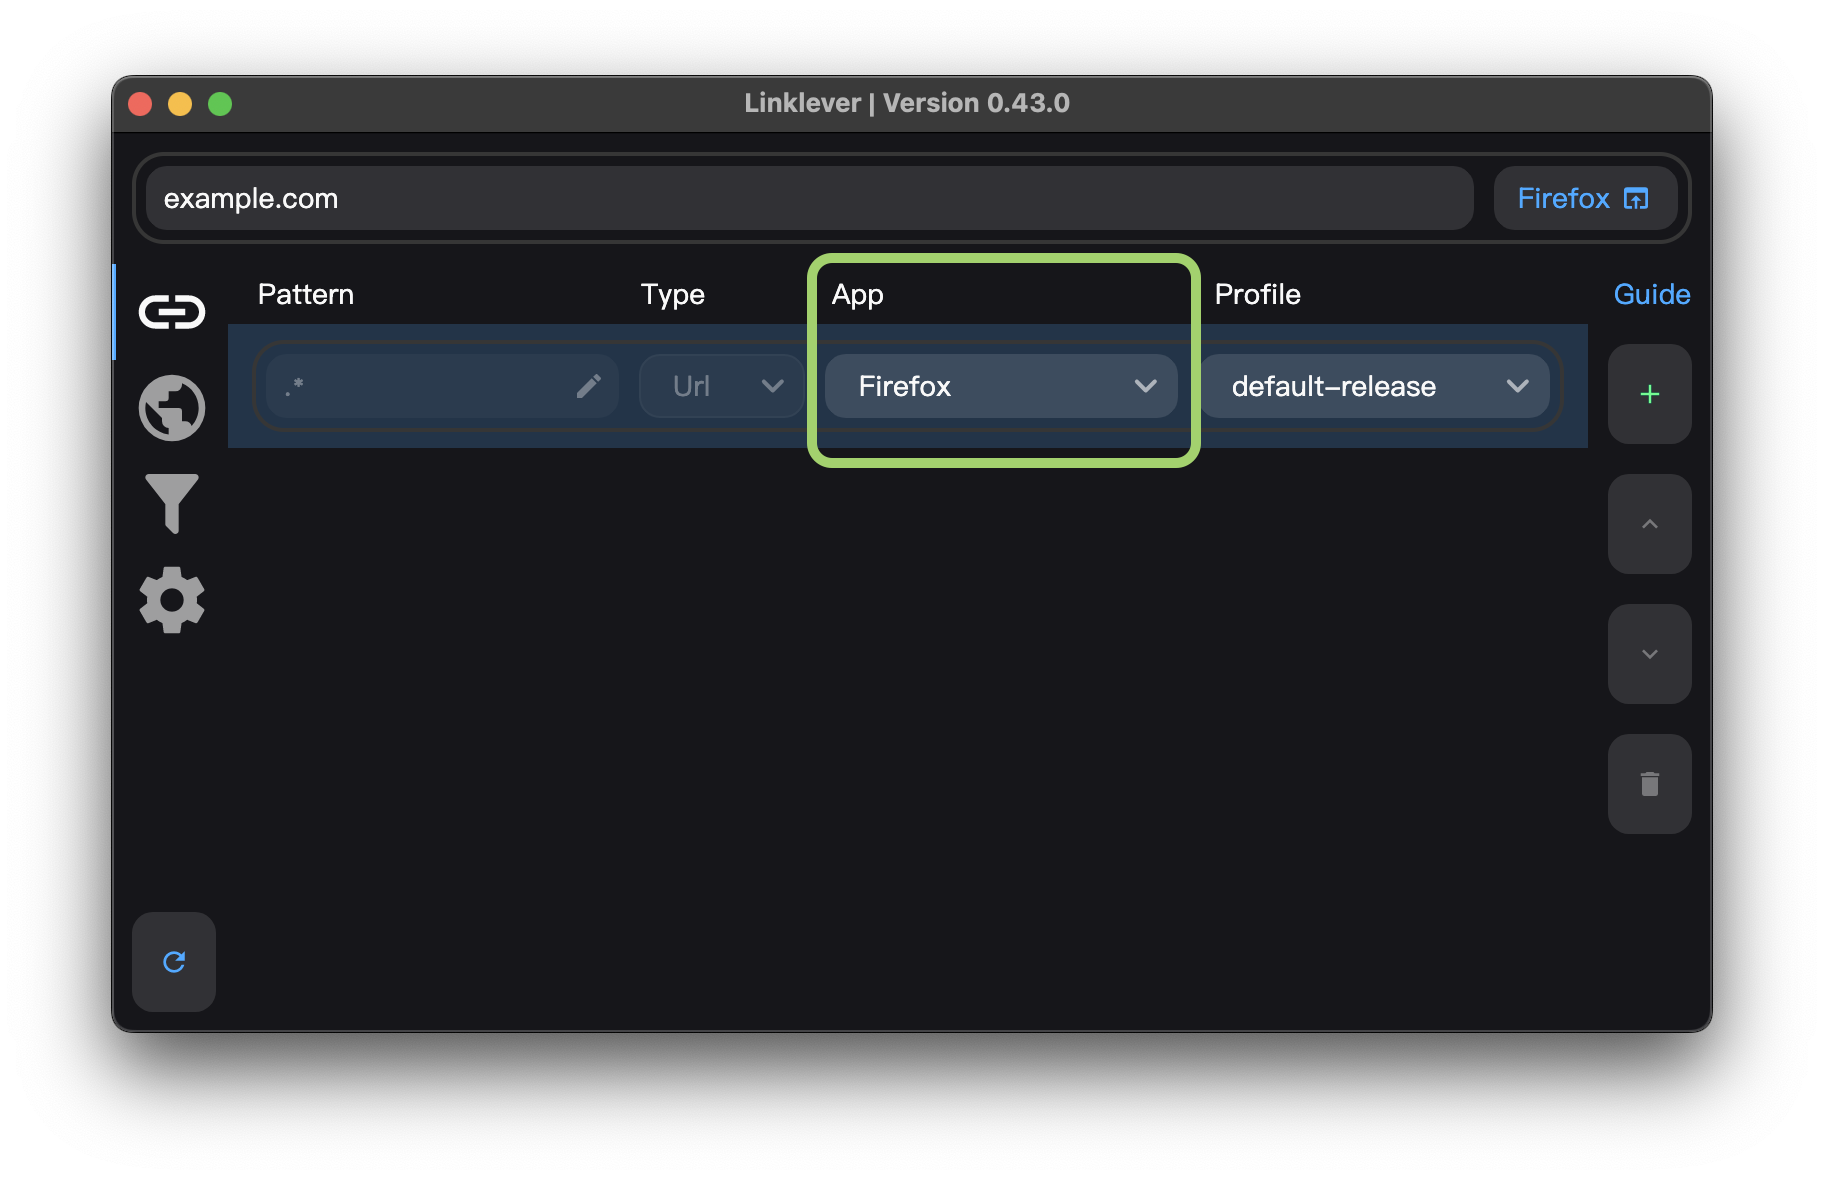
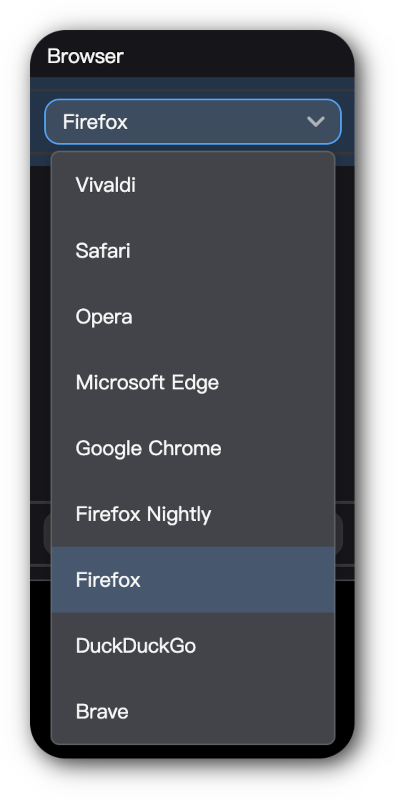
The available browsers are listed in the drop-down menu. The list may have different options on your system.
Profile
This is the browser profile that Linklever will open for the given URL.
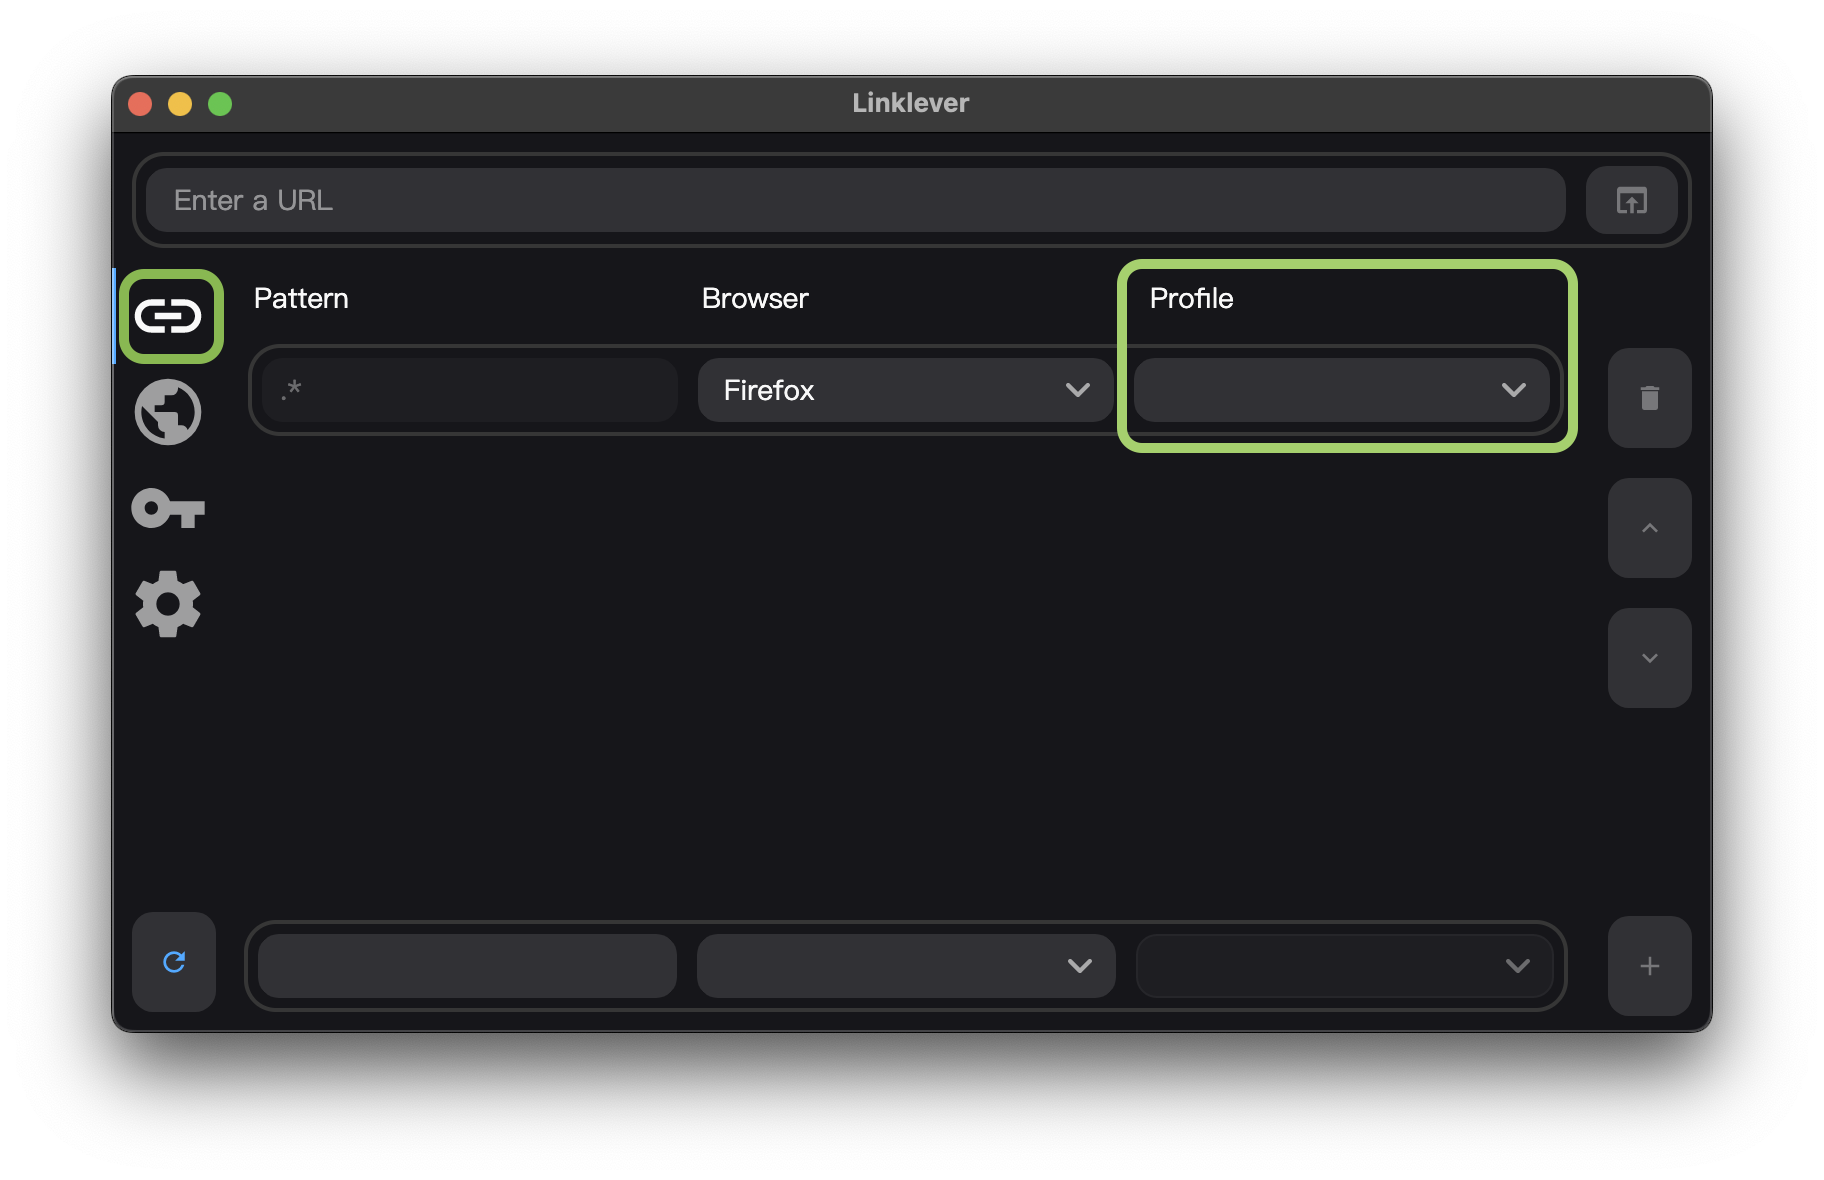
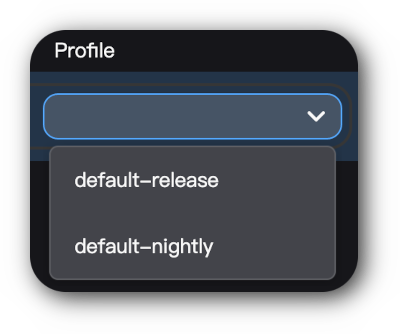
The available profiles for the selected browser are listed in the drop-down menu.
Rule operations
Add
To add a rule, click the add button.

In the row that appears, fill in the fields, and click the confirm button.

To cancel, click the cancel button.

Delete
To delete a rule, select it, and click the delete button.

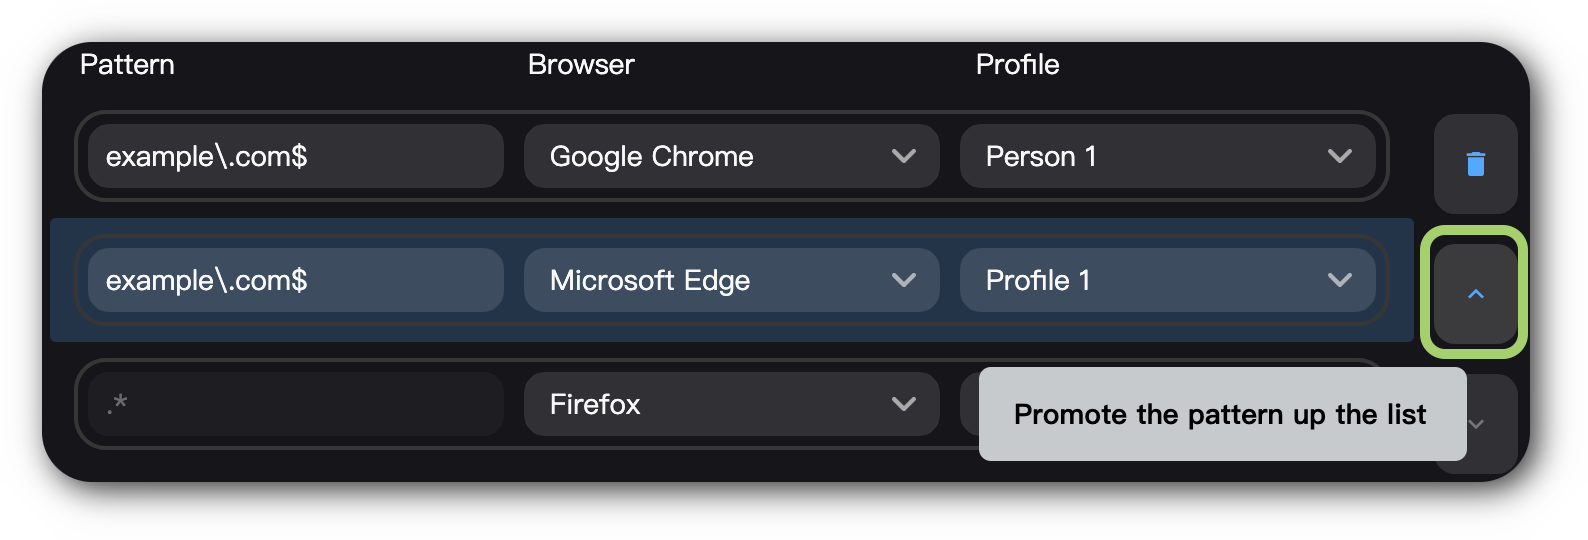
Promote
To promote a rule (move it up the list), select it, and click the promote button.
It is not possible to promote the catch-all rule.
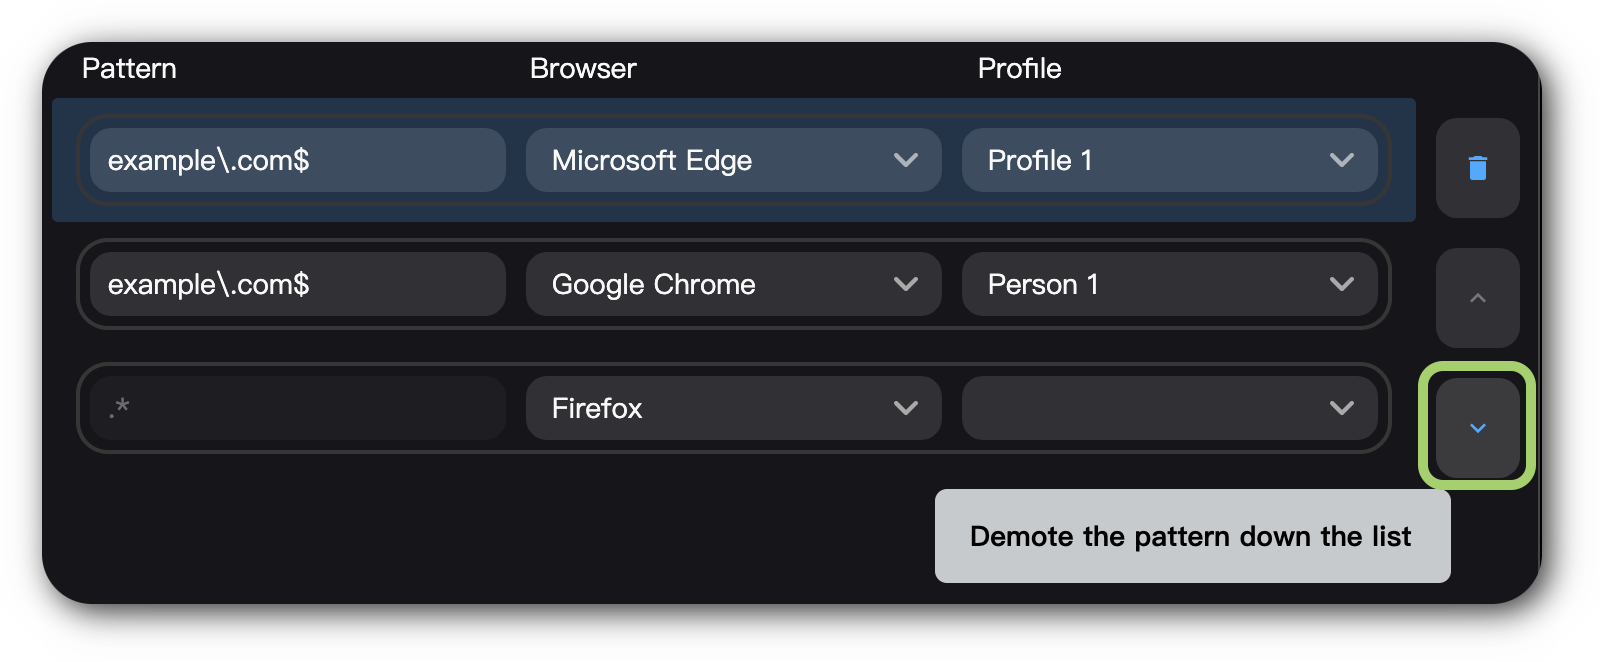
Demote
To demote a rule (move it down the list), select it, and click the demote button.
Testing
To preview which browser will launch, type a URL into the address bar. The Launch button will show the matched browser name.

Browsers
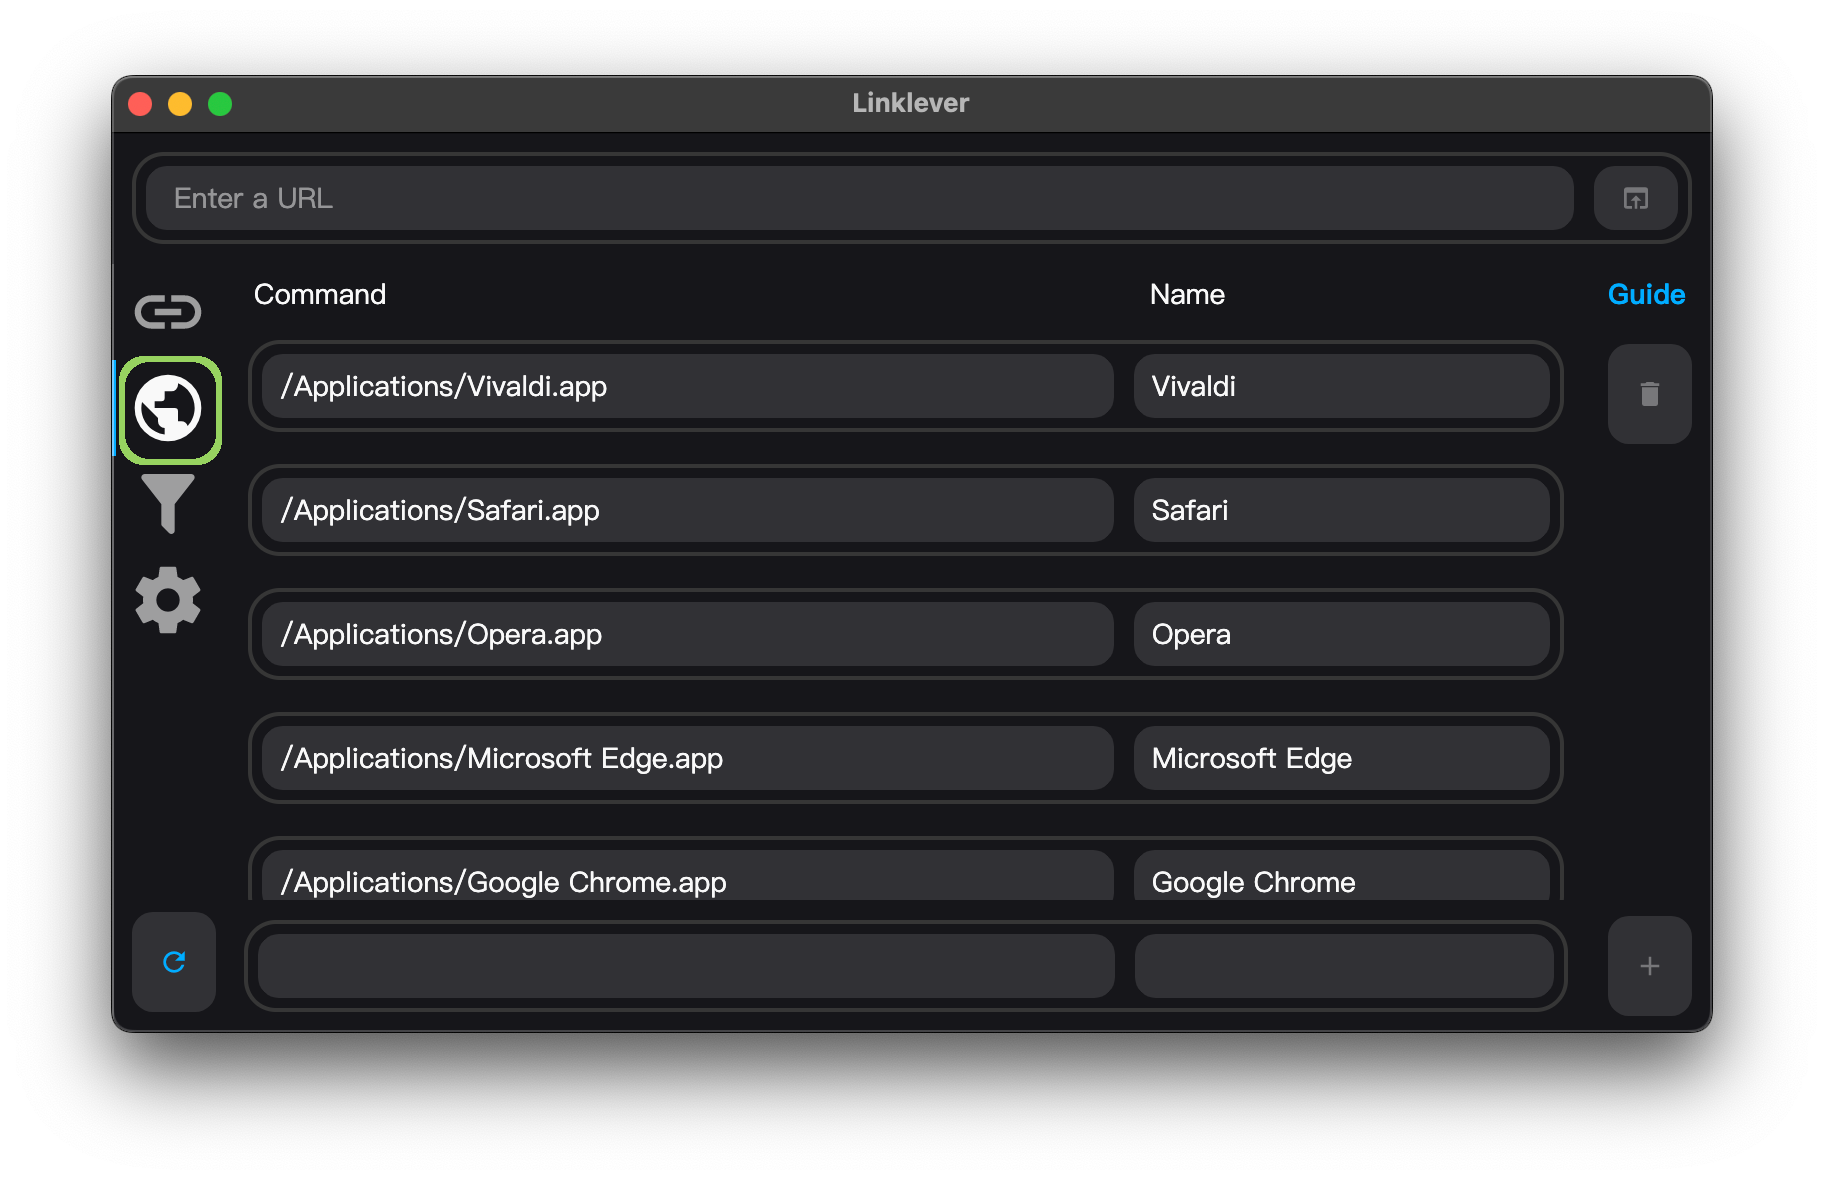
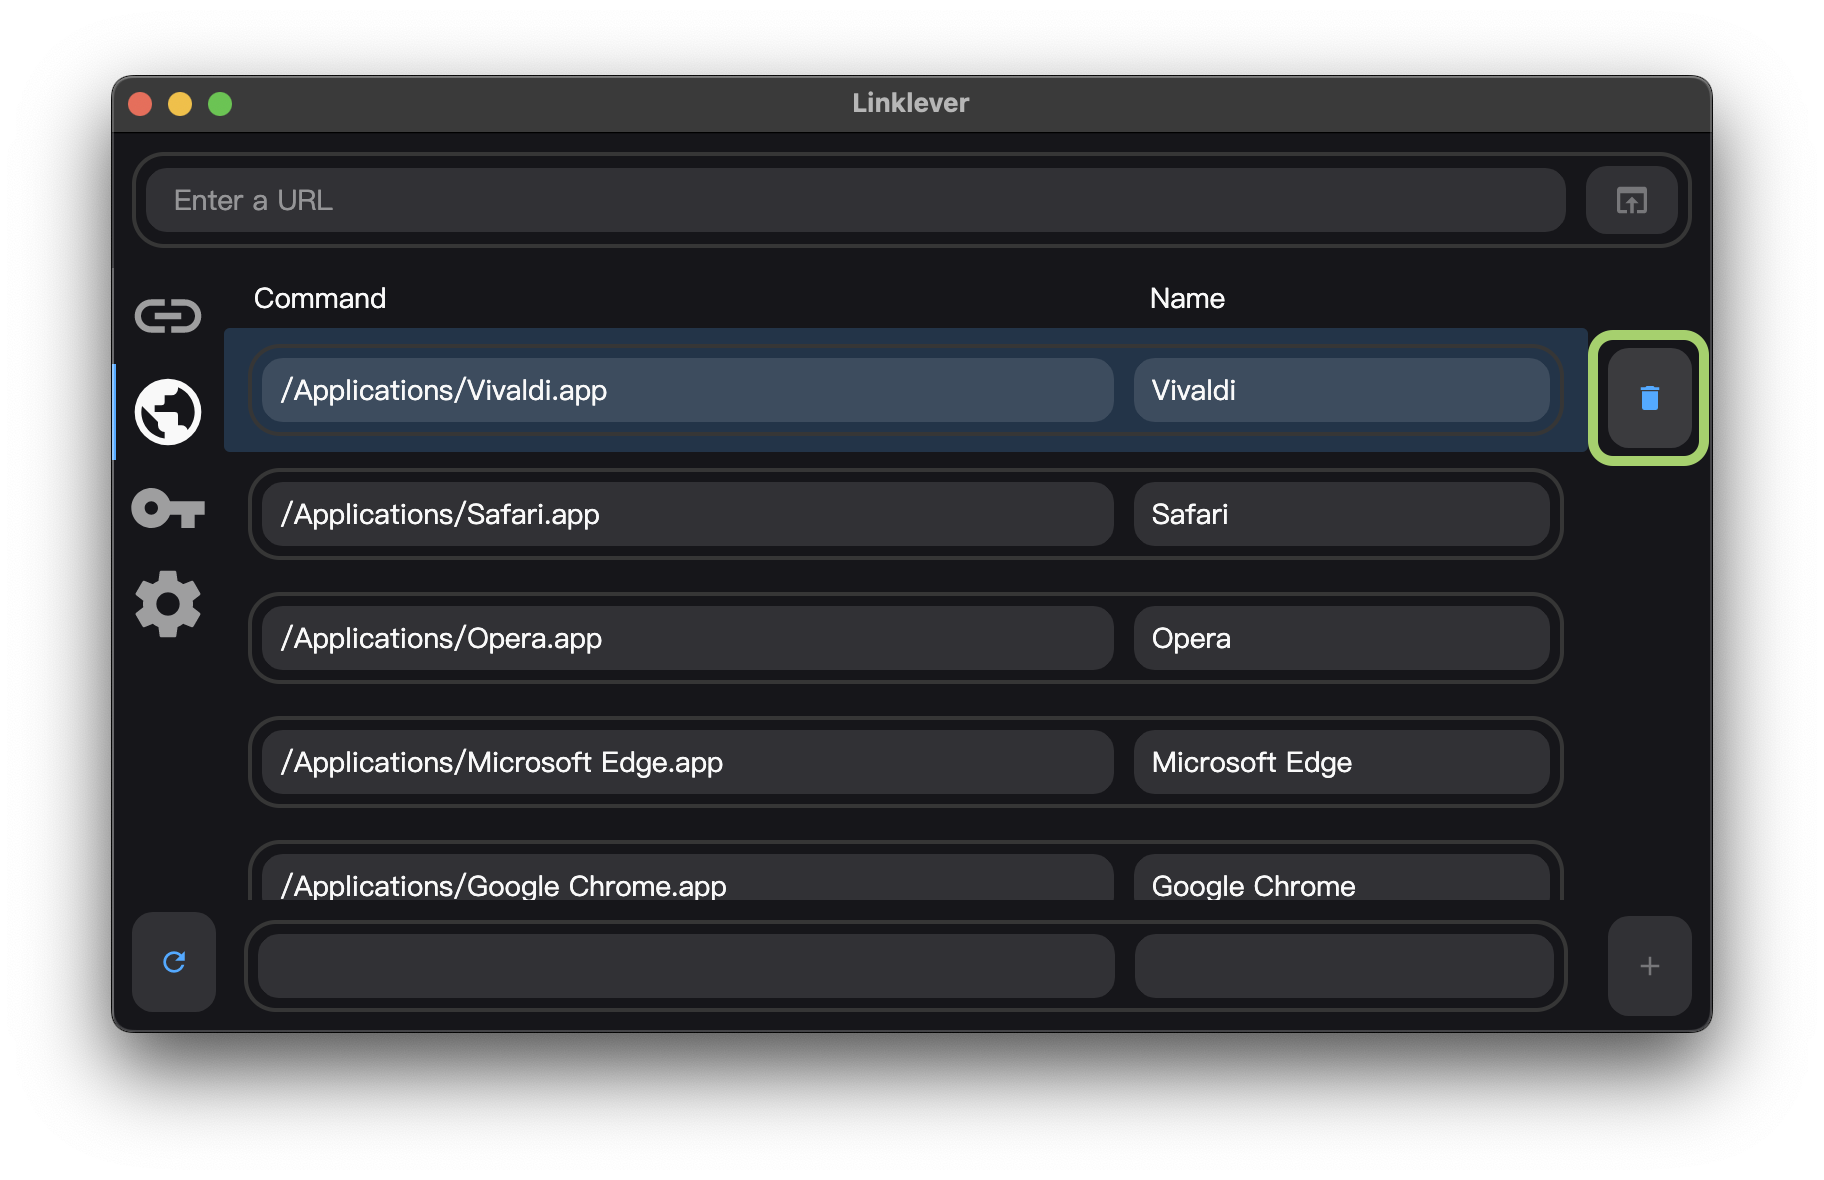
The Browsers tab lists Browsers and browser profiles. Linklever scans your system and lists the results here and any you add.
Structure
Command is the app, executable, or script Linklever will run.
It should be the path to the .exe (Windows), .app (macOS), executable file (Linux), or script (e.g. .ps1, .sh)

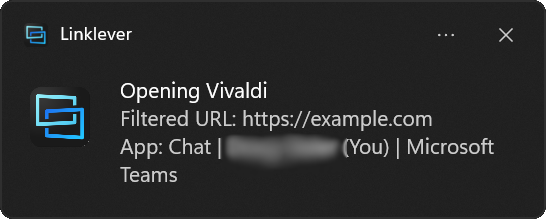
Name can be any text. It may appear in notifications, so it’s best to keep it short.

Browser operations
Add
To add a browser, fill in the fields at the bottom of the app, then click the add button.

Delete
To delete a browser from the list, select it, and click the delete button.
This does not remove the browser from your system
Arguments
You can pass custom arguments to browsers. This is useful for opening browsers in specific modes, like incognito or private browsing.
URL Substitution
By default, Linklever appends the URL as the last argument to the browser command. You can customize this by using placeholders in your arguments.
| Placeholder | Description |
|---|---|
{url} | The complete URL |
{host} | The domain name (e.g. example.com) |
{port} | The port number (e.g. 443) |
{path} | The path (e.g. /page/subpage) |
{query} | The query string including ? (e.g. ?foo=bar) |
{fragment} | The fragment including # (e.g. #section) |
{authority} | The host and port combined (e.g. example.com:443) |
When you use any placeholder, Linklever substitutes it and does not append the URL at the end.
Examples
Open in incognito/private mode:

--incognito
Open in a Firefox container (requires the open-url-in-container extension):

ext+container:name=Work&url={url}
For container names with spaces, use %20:
ext+container:name=My%20Work&url={url}
Strip query parameters (removes tracking parameters):
{host}{path}{fragment}
Filters
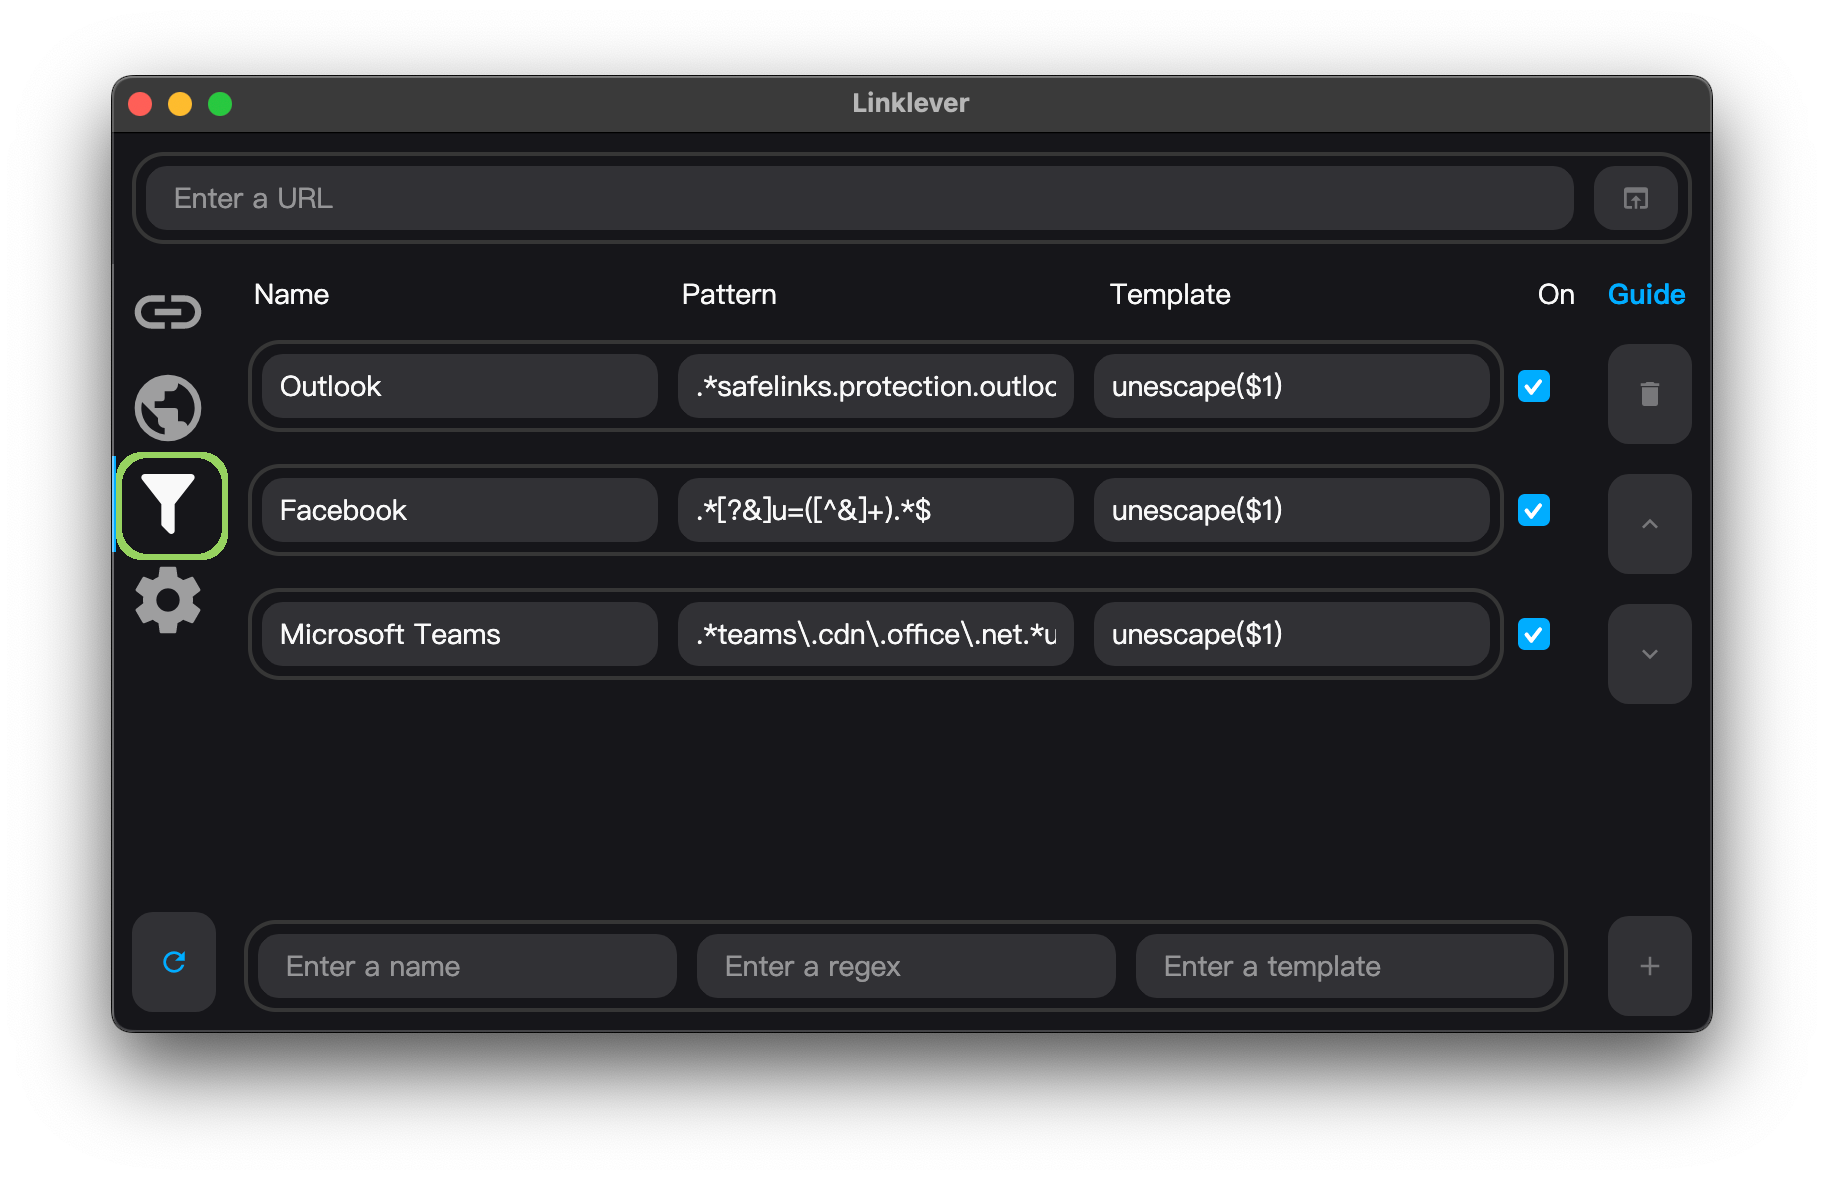
The Filters tab specifies transforms to URLs before sending them on the rules engine. The rules engine then matches on the transformed URL and launches a browser.
When opening a link, Linklever starts at the top of the filter list. It moves down and selects the first matching filter. If there are multiple matches, it selects the first match. If there is no match, then the raw URL is passed along to the rules engine.
For example, if a filter exists with pattern .*teams\.cdn\.office\.net.*url=([^&]+).* and template unescape($1), then Linklever won’t launch the URL statics.teams.cdn.office.net/evergreen-assets/safelinks/1/atp-safelinks.html?url=https%3A%2F%2Fexample.com. Instead it will launch https://example.com.
Anatomy of a Filter
Each filter consists of a name, a pattern, and a template.
Name
The name can be any text. It will appear in notifications, so it’s best to keep it short.

Pattern
The filter only applies if the pattern matches the URL. For help creating patterns, follow our Pattern Guide.

Template
A template selects and transforms text from the raw URL.
In the above example, the template unescape($1) extracts the text https%3A%2F%2Fexample.com and URL unescapes it to https://example.com. Here, $1 refers to the first capture group, i.e. everything matched in the first parenthesis ( ... ), which is in this case everything after url=. The macro unescape converts URL-escaped strings like https%3A%2F%2Fexample.com to normal URLs like https://example.com.

Filter operations
Add
To add a filter, fill in the fields at the bottom of the app, and click the add button.
The example below, the pattern (.*)[&?]utm_source=[^&]+.* and template $1 remove the utm_source tracking parameter. For example, https://example.com?product=123&utm_source=google becomes https://example.com?product=123

Delete
To delete a filter, select it, and click the delete button.

Promote
To promote a filter (move it up the list), select it, and click the promote button.
It is not possible to promote the catch-all filter.

Demote
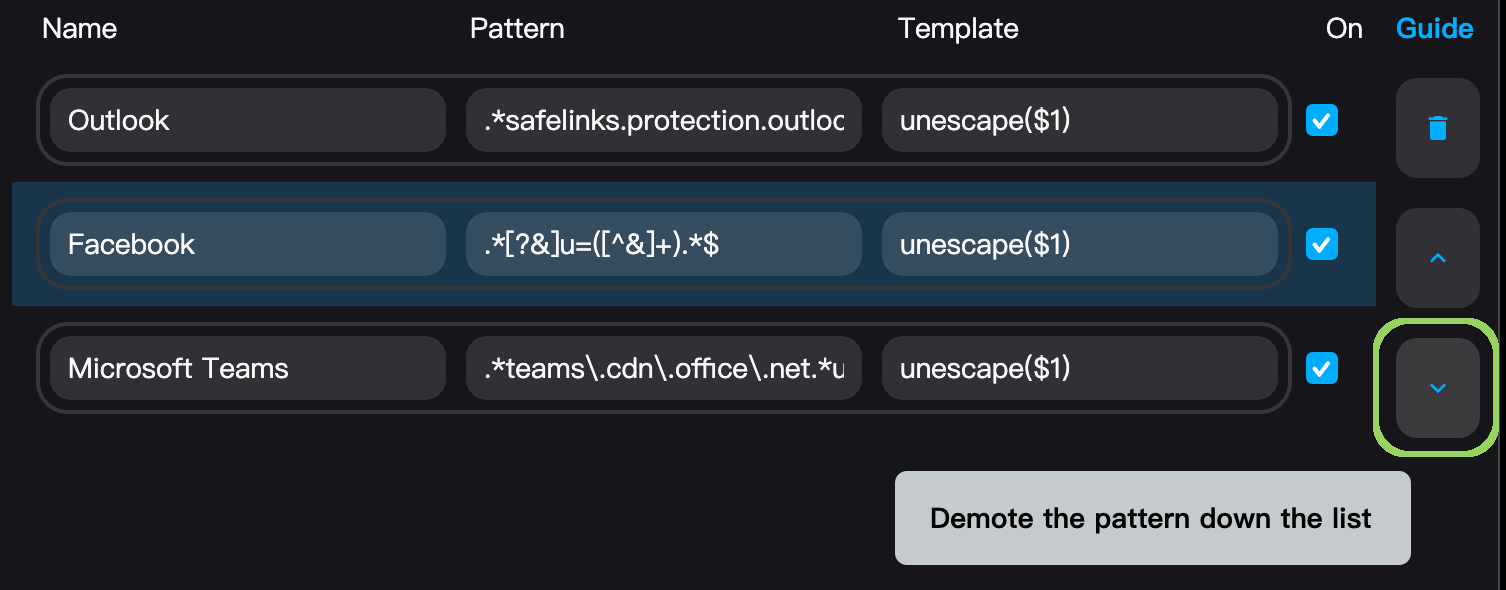
To demote a filter (move it down the list), select it, and click the demote button.
Settings
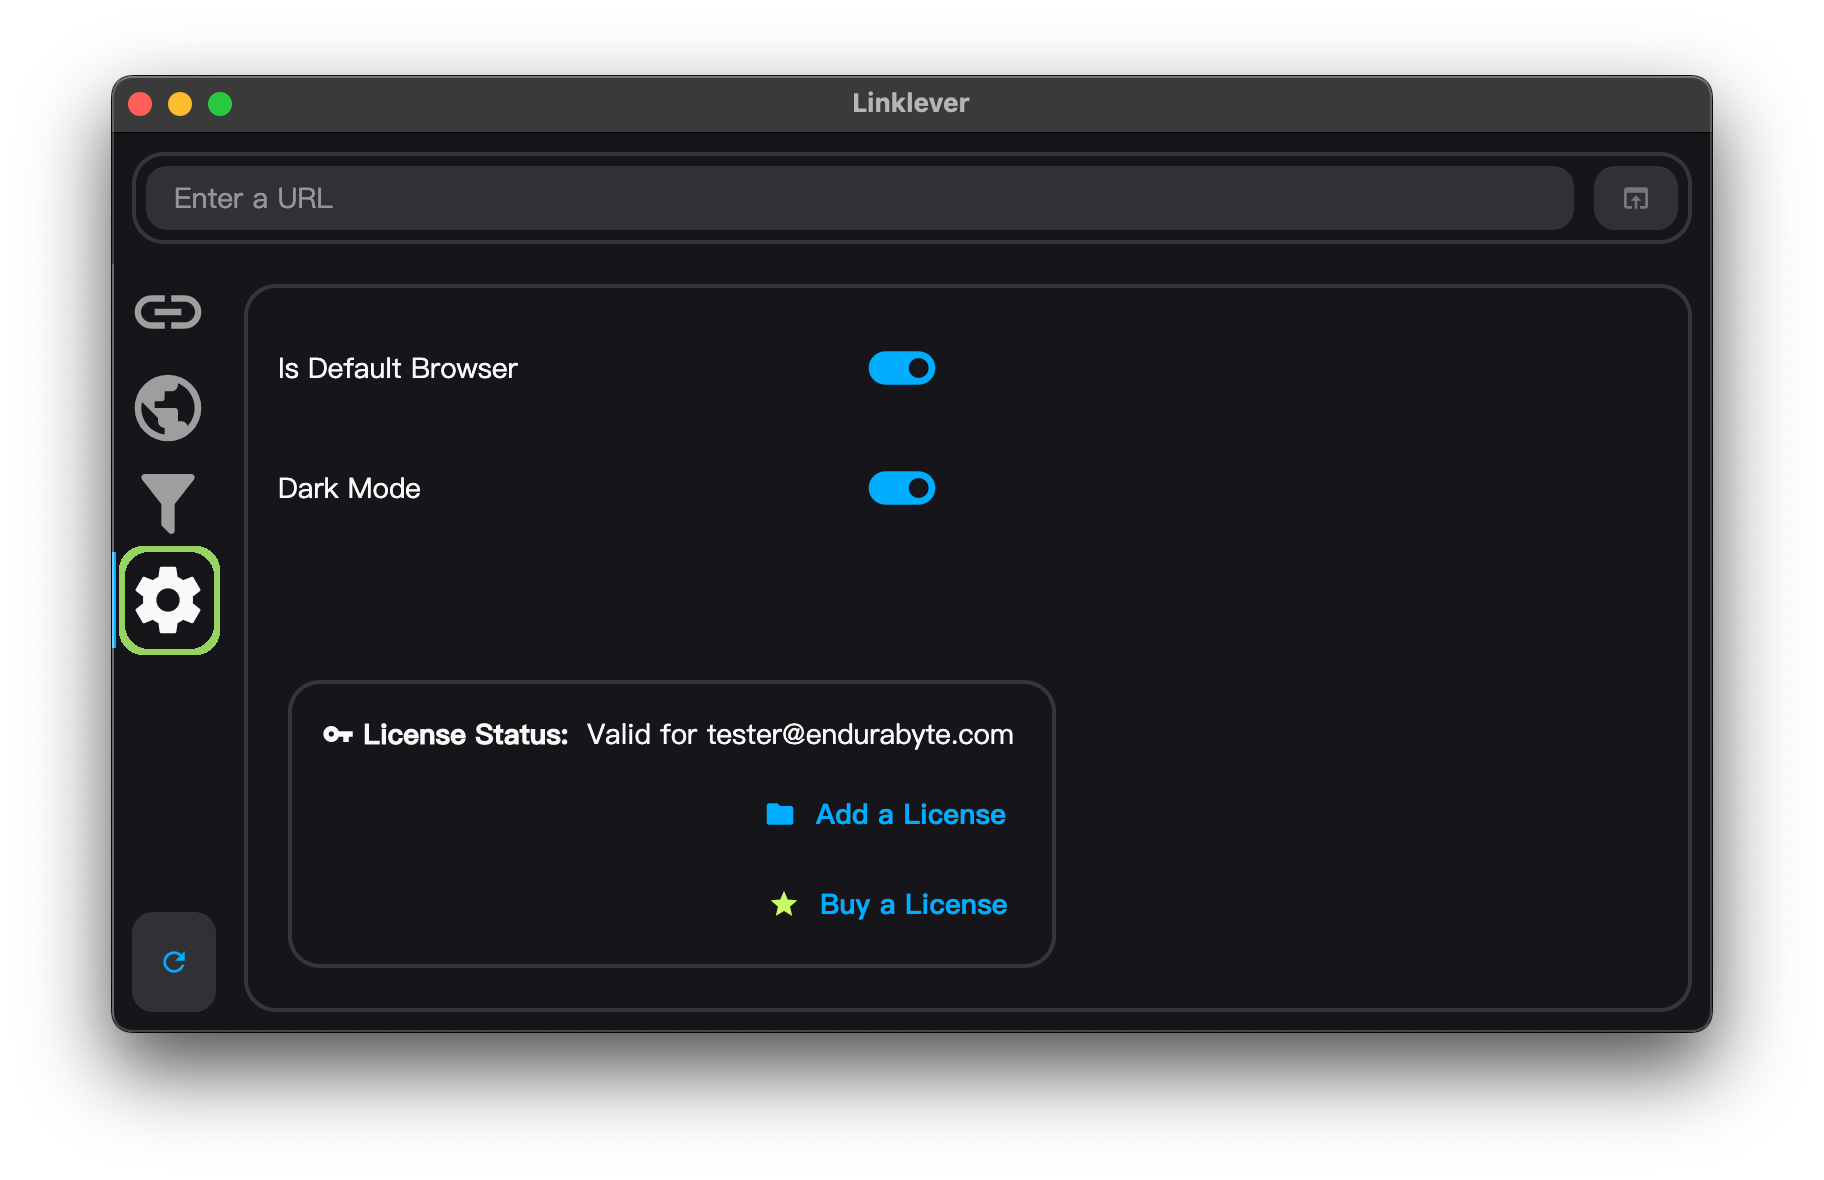
The Settings tab lets you set or unset Linklever as the default browser, set dark or light mode, and set the license file.
Default Browser
To set or unset Linklever as the default browser, click the switch next to Is Default Browser
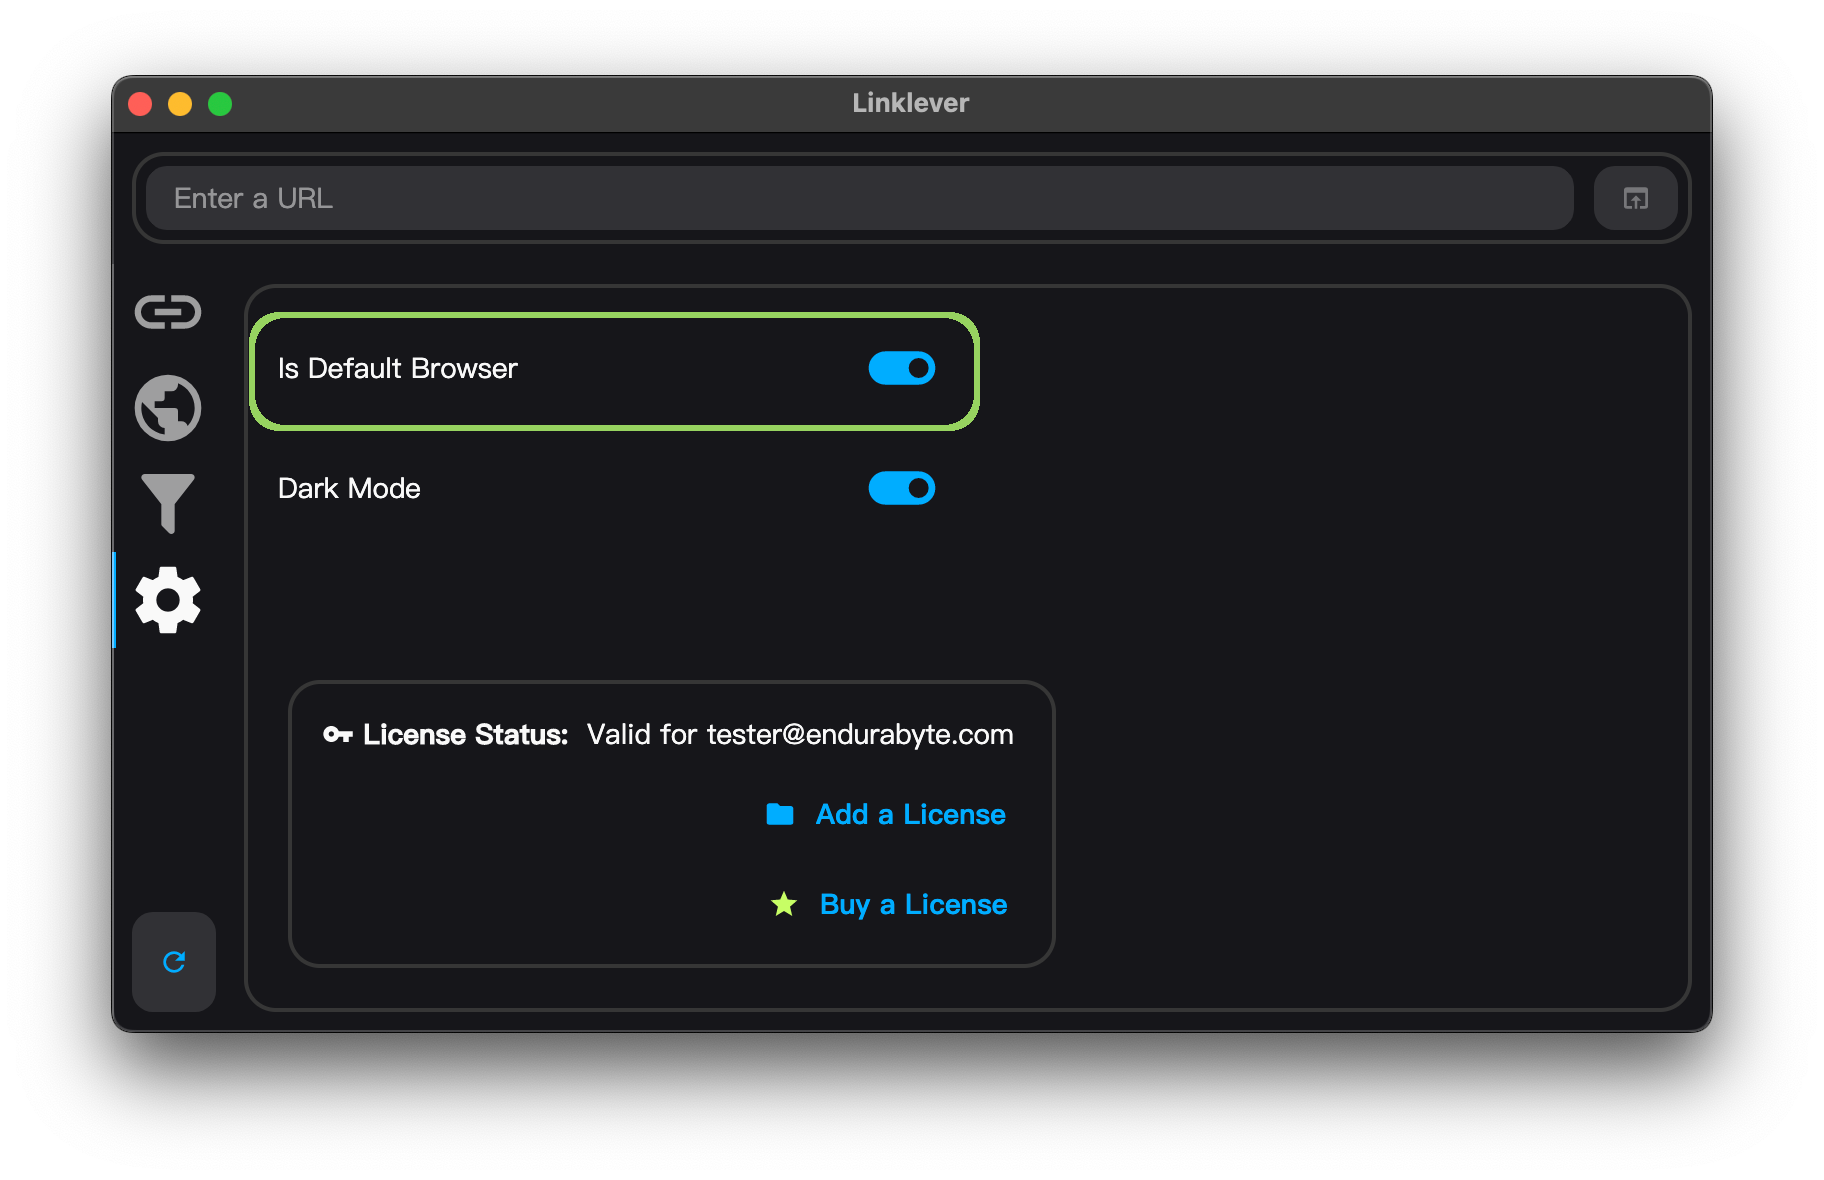
The steps that follow depend on your operating system.
macOS
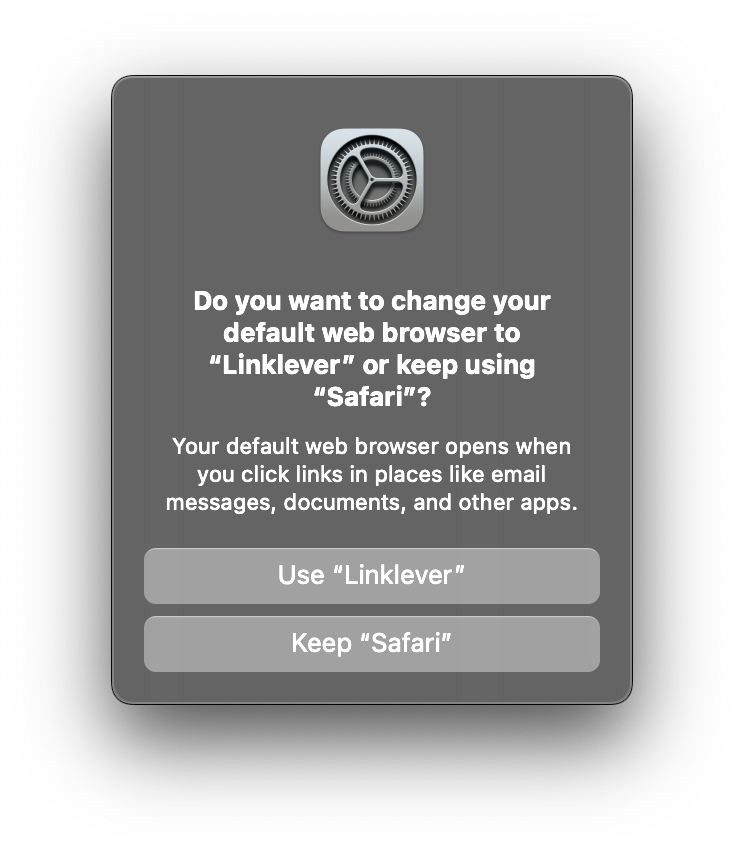
When you click the switch, macOS shows a dialog to confirm the change. Click Use "Linklever"
Windows
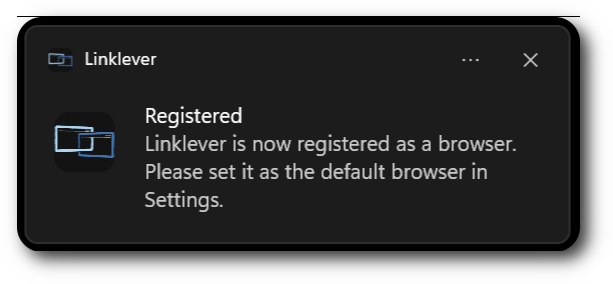
Linklever opens the Default Apps page in Settings and asks you to set the default browser.

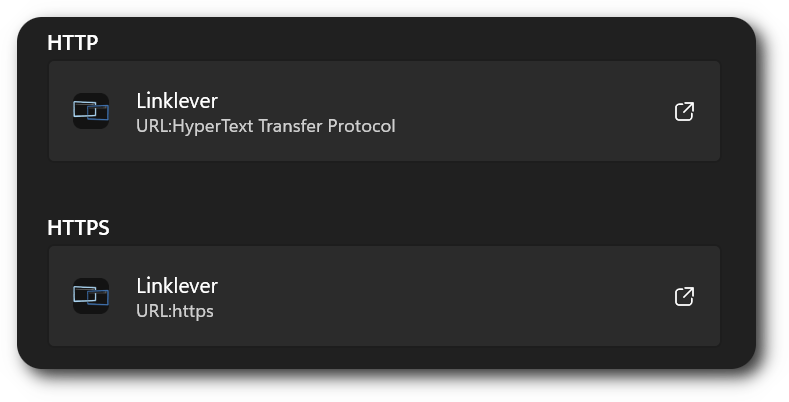
After you click the Set default button, you should see that Linklever is assigned to the http and https protocols.
Linux
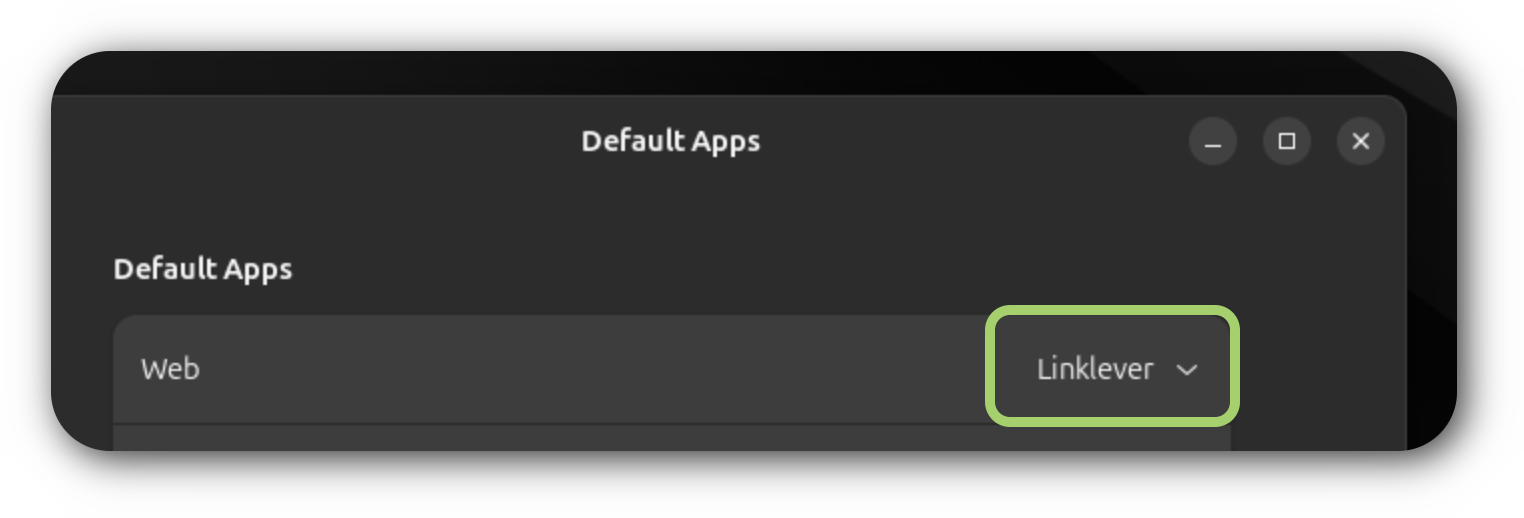
Linklever uses xdg-settings to set itself as the default browser. On GNOME 46, no confirmation is required. The change is confirmed under Settings > Default Apps
Appearance
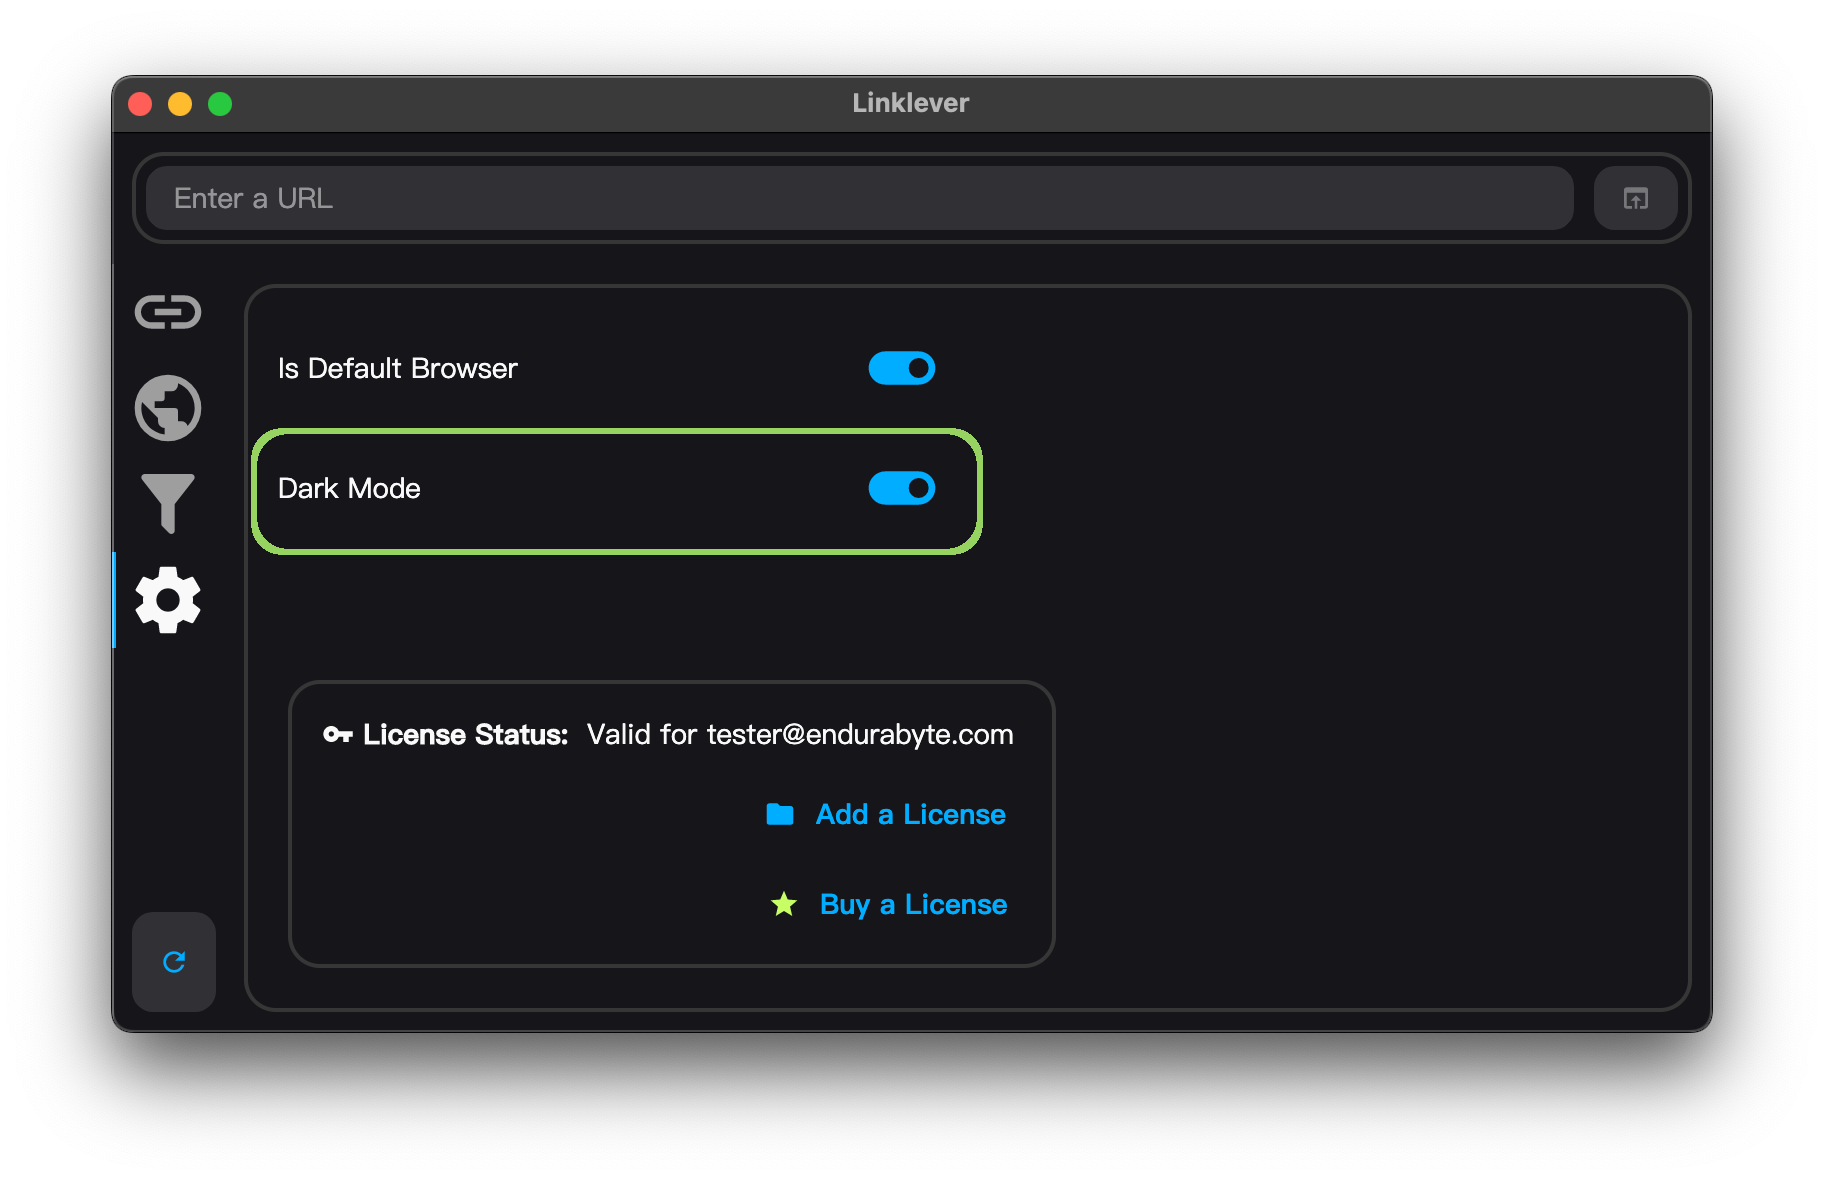
Dark Mode
To switch between dark and light mode, click the switch next to Dark Mode.
License
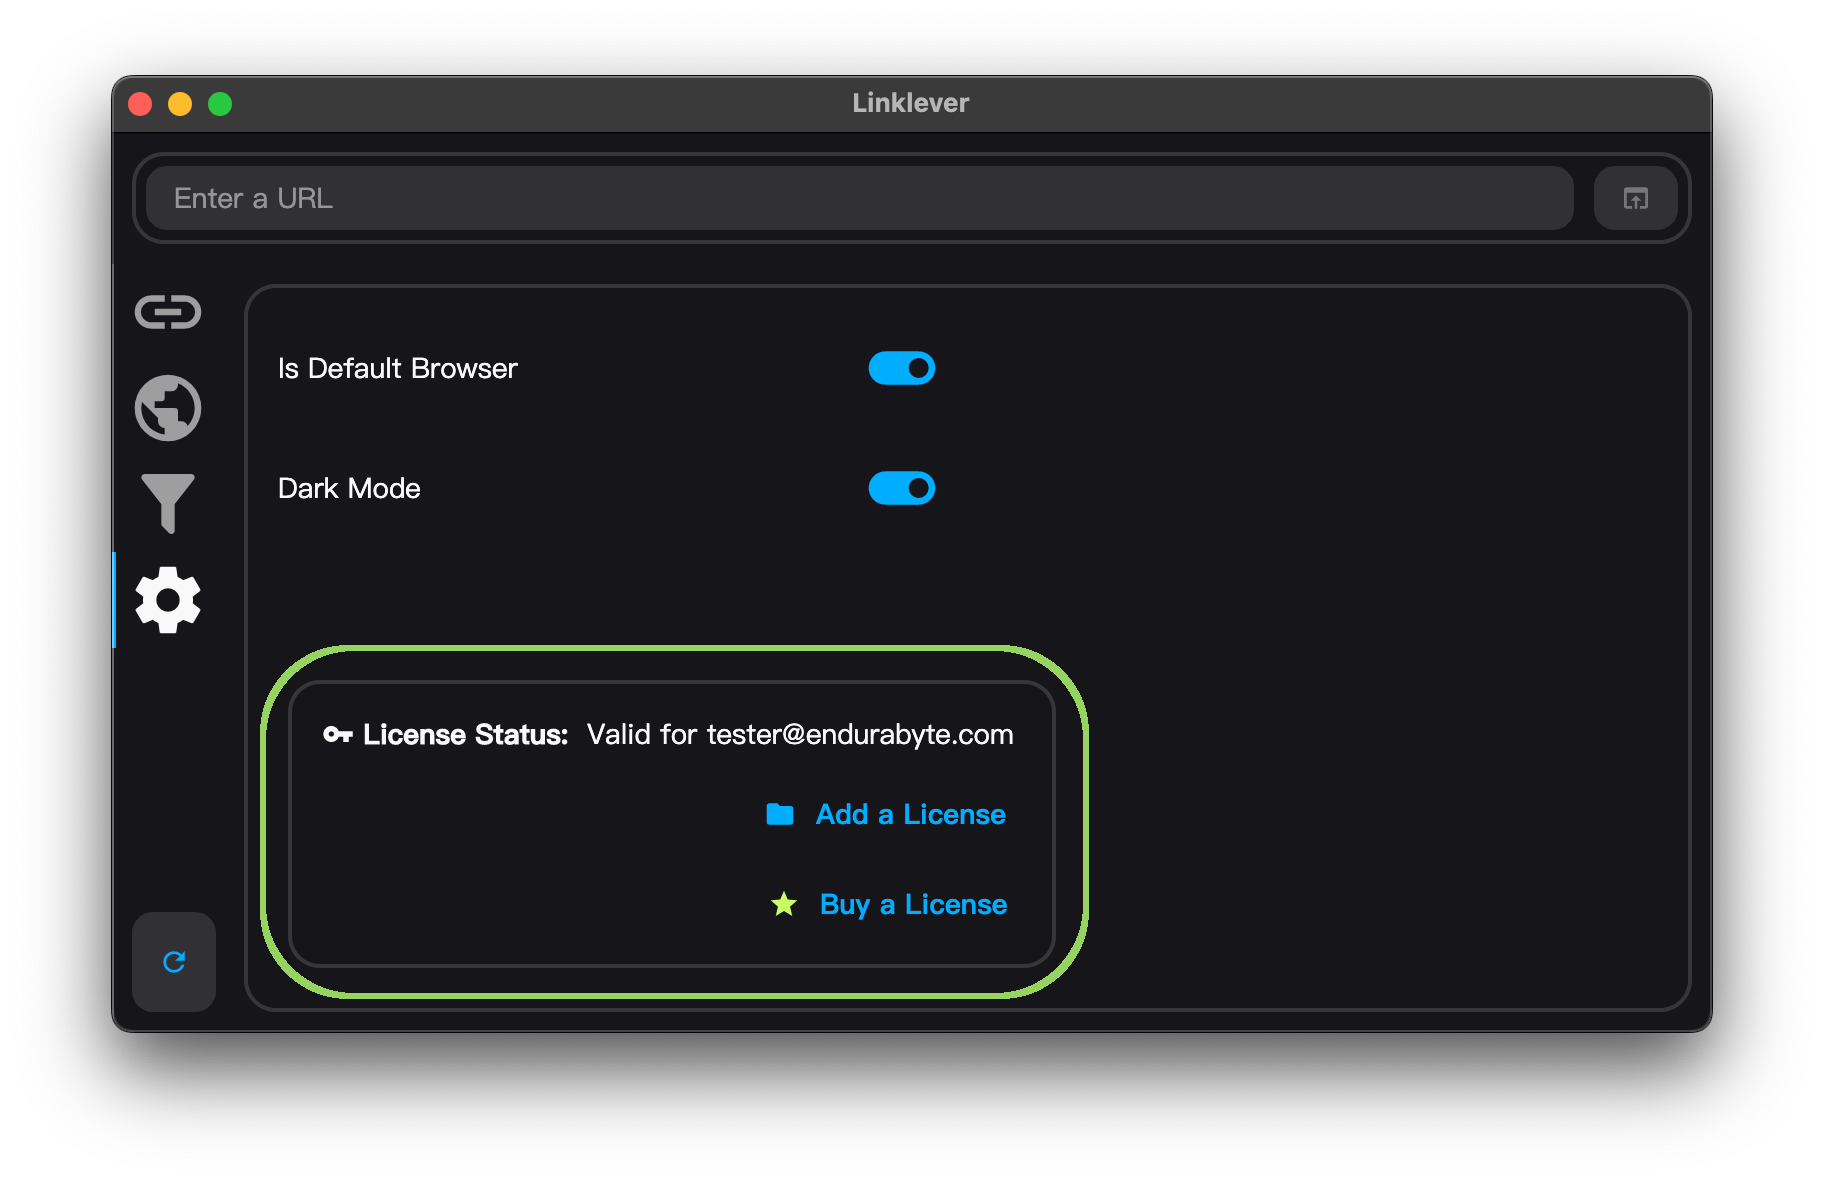
This area concerns licensing of Linklever.
License operations
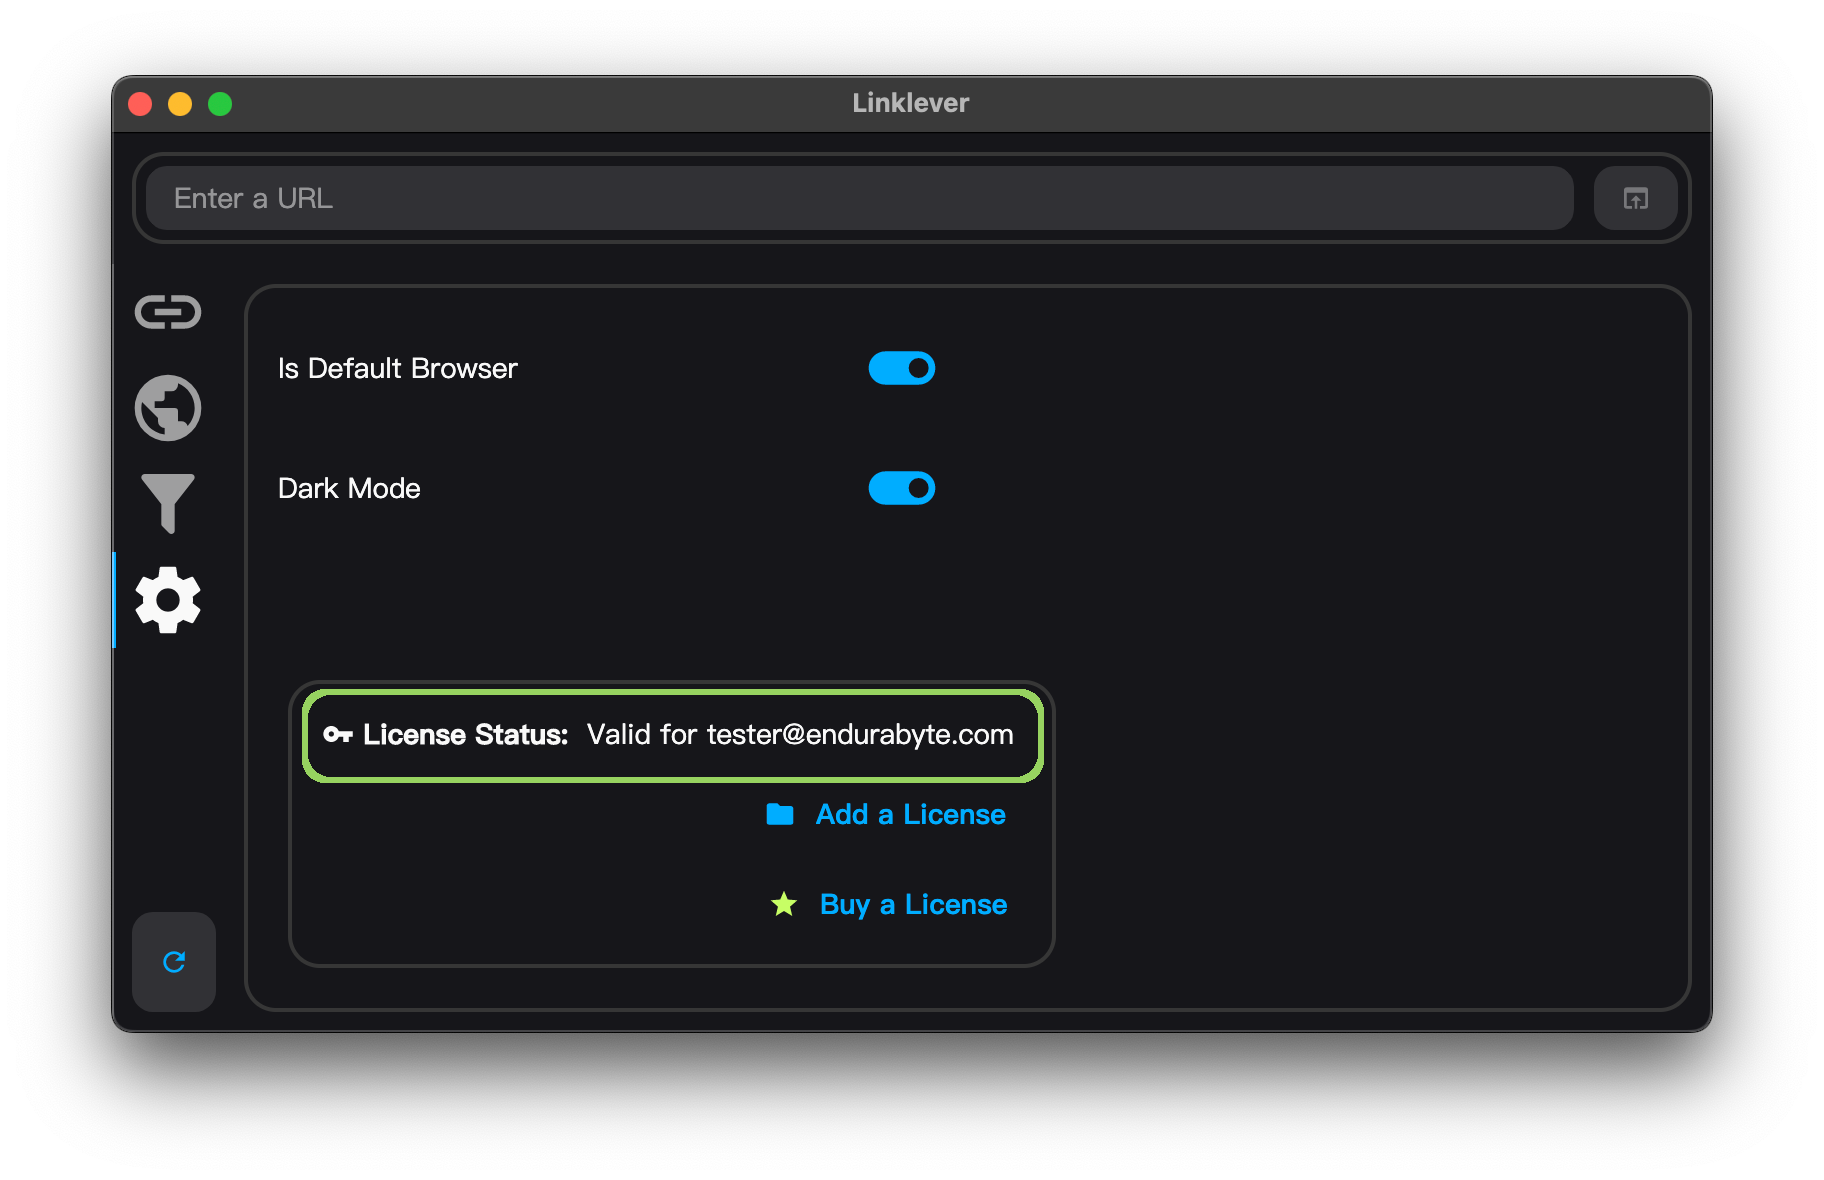
Status
The status shows whether the license file is valid or not.
Add
To add a license, click the add button.
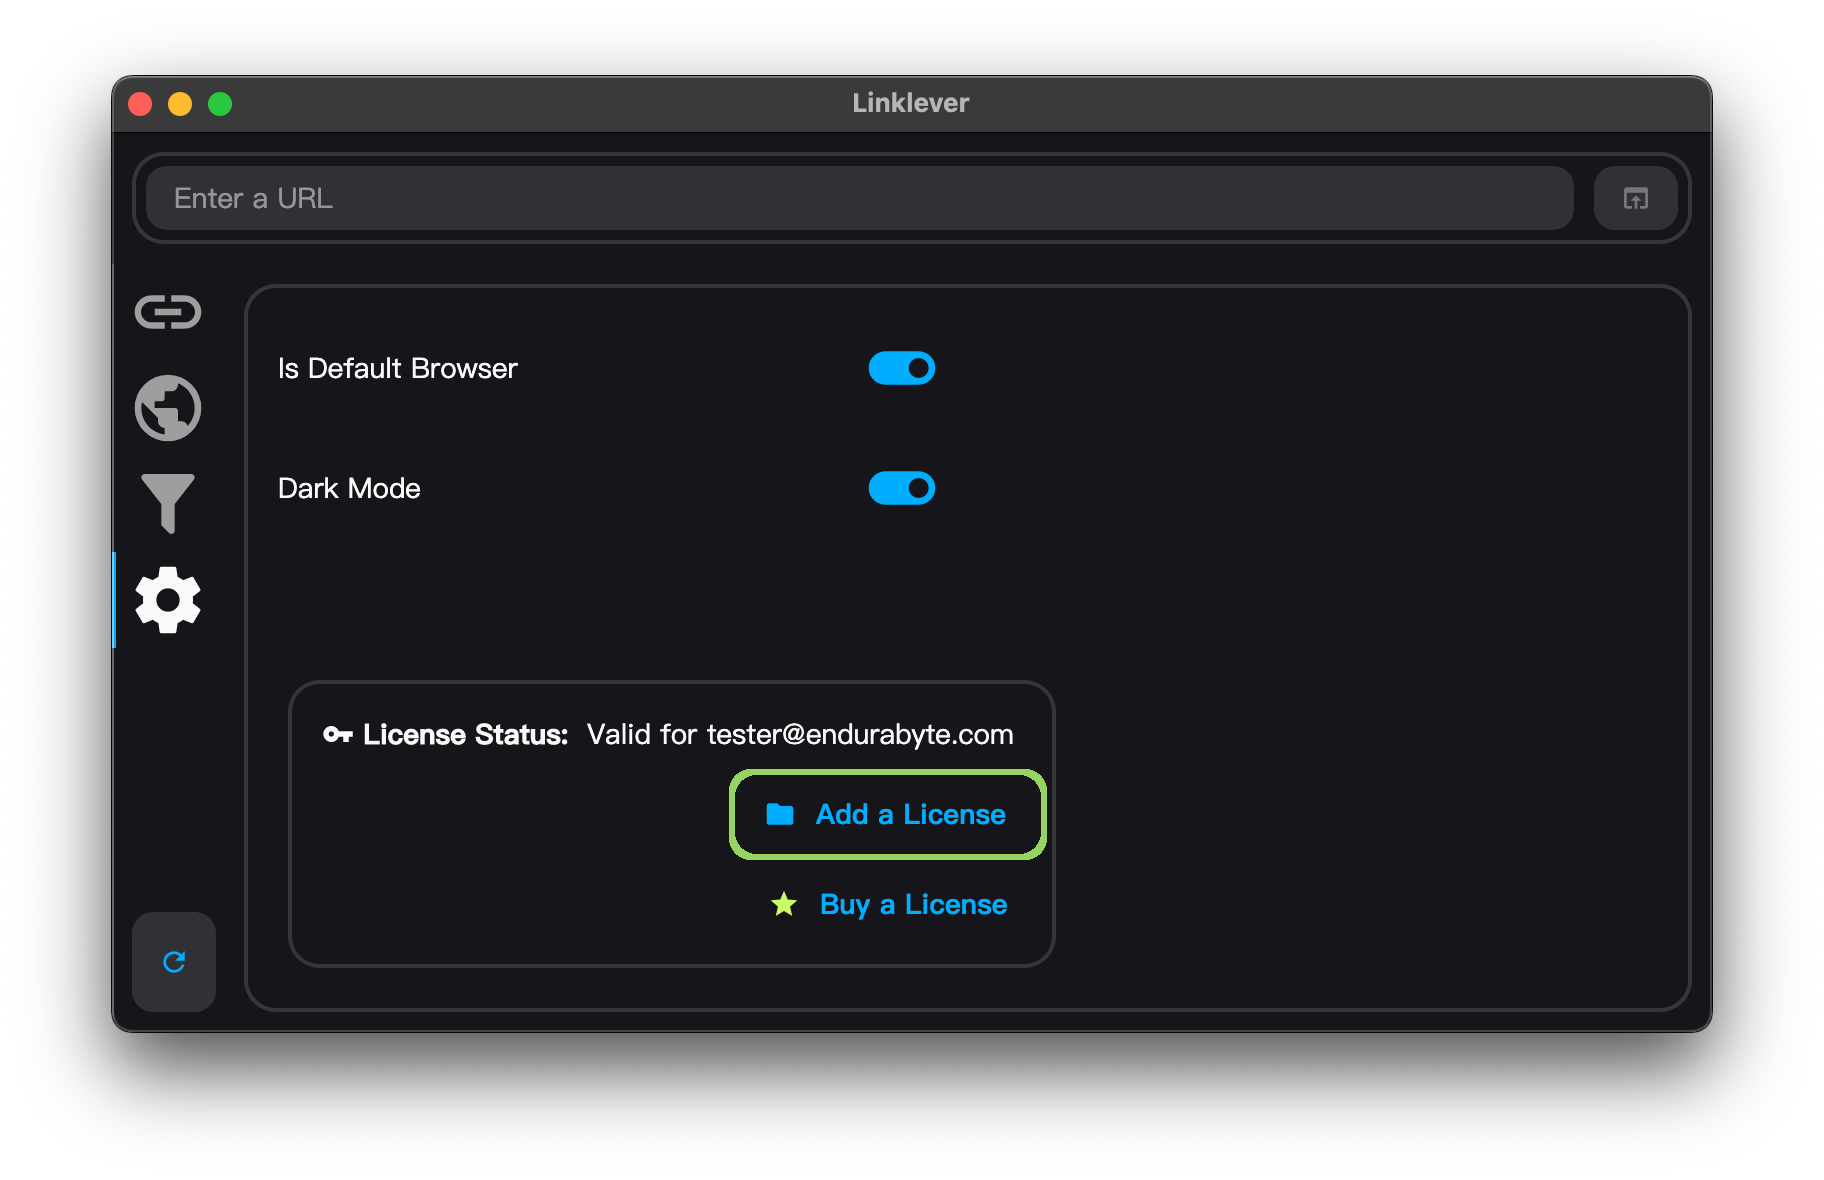
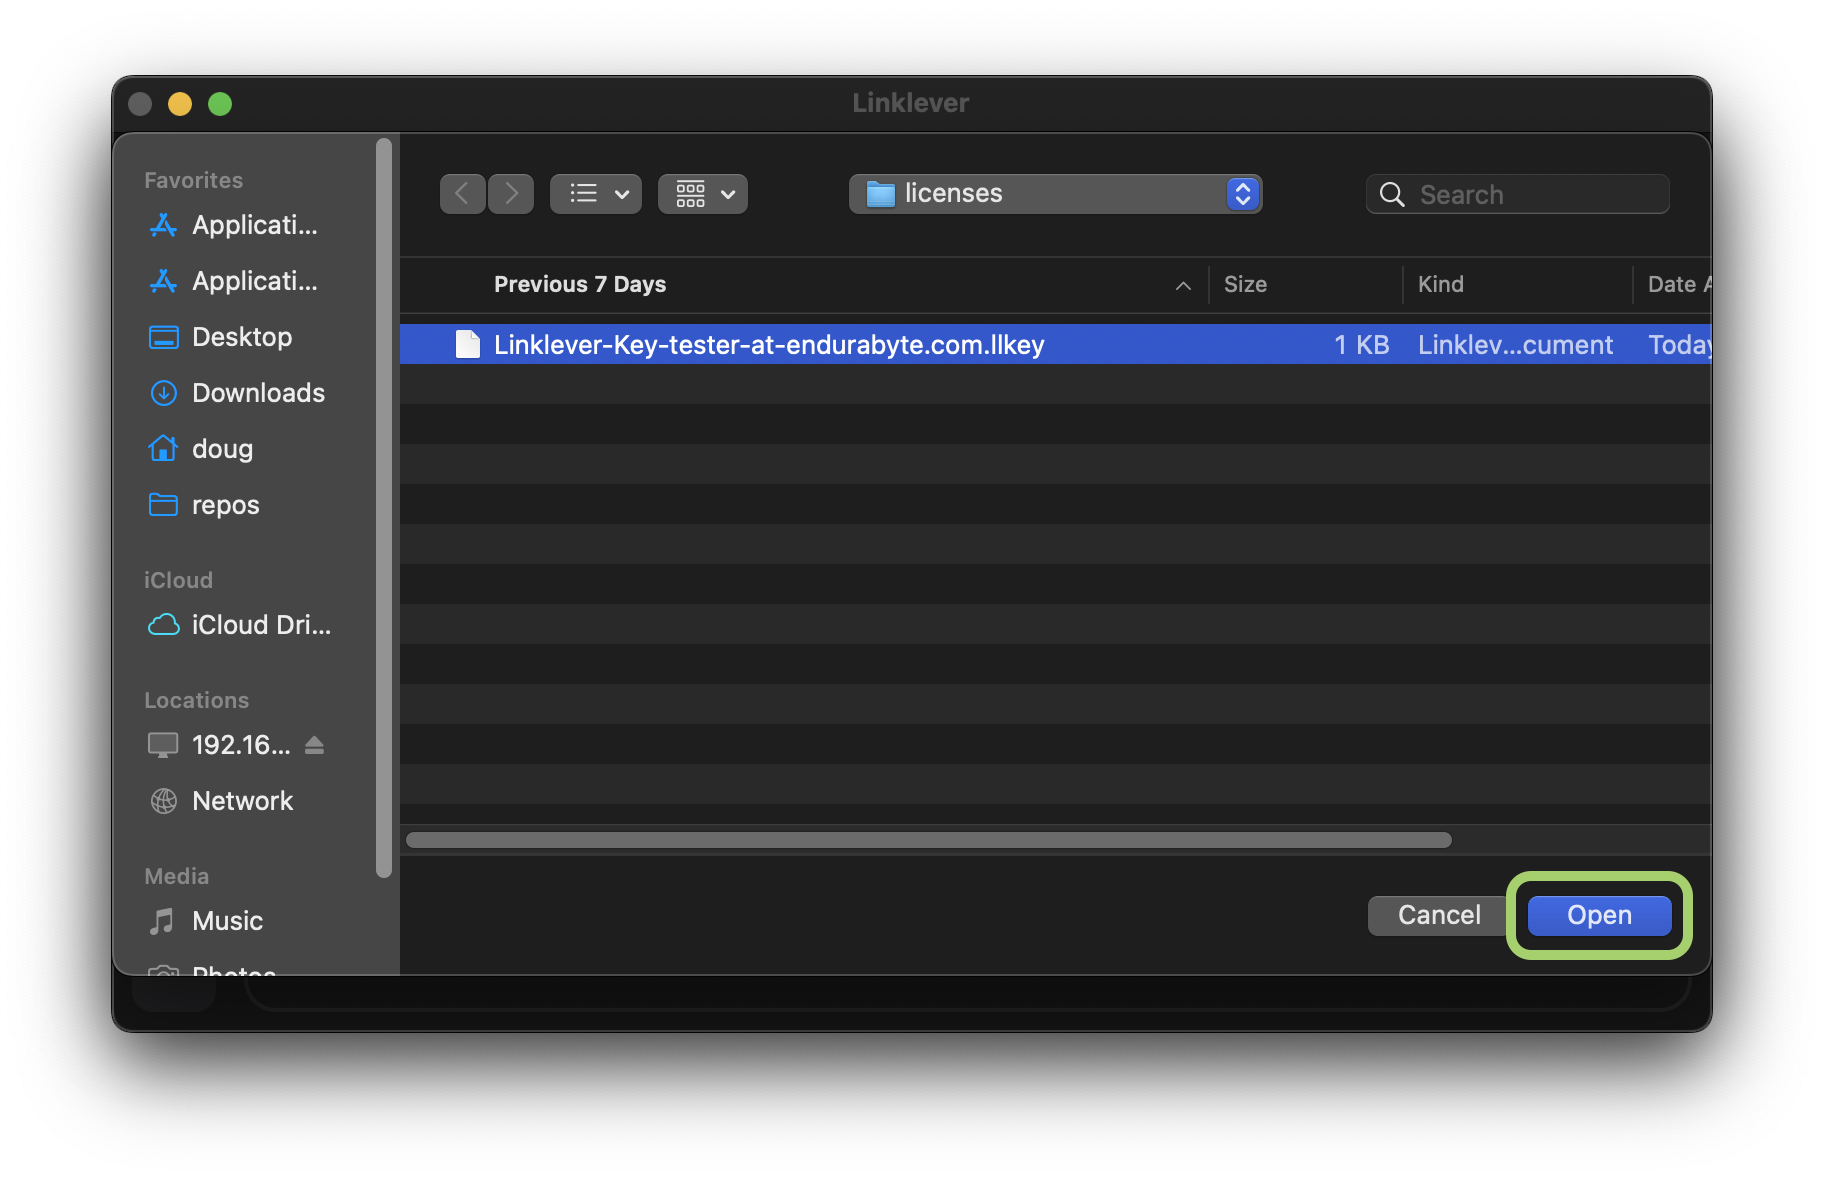
In the dialog that appears, select a license and click Open.
Get
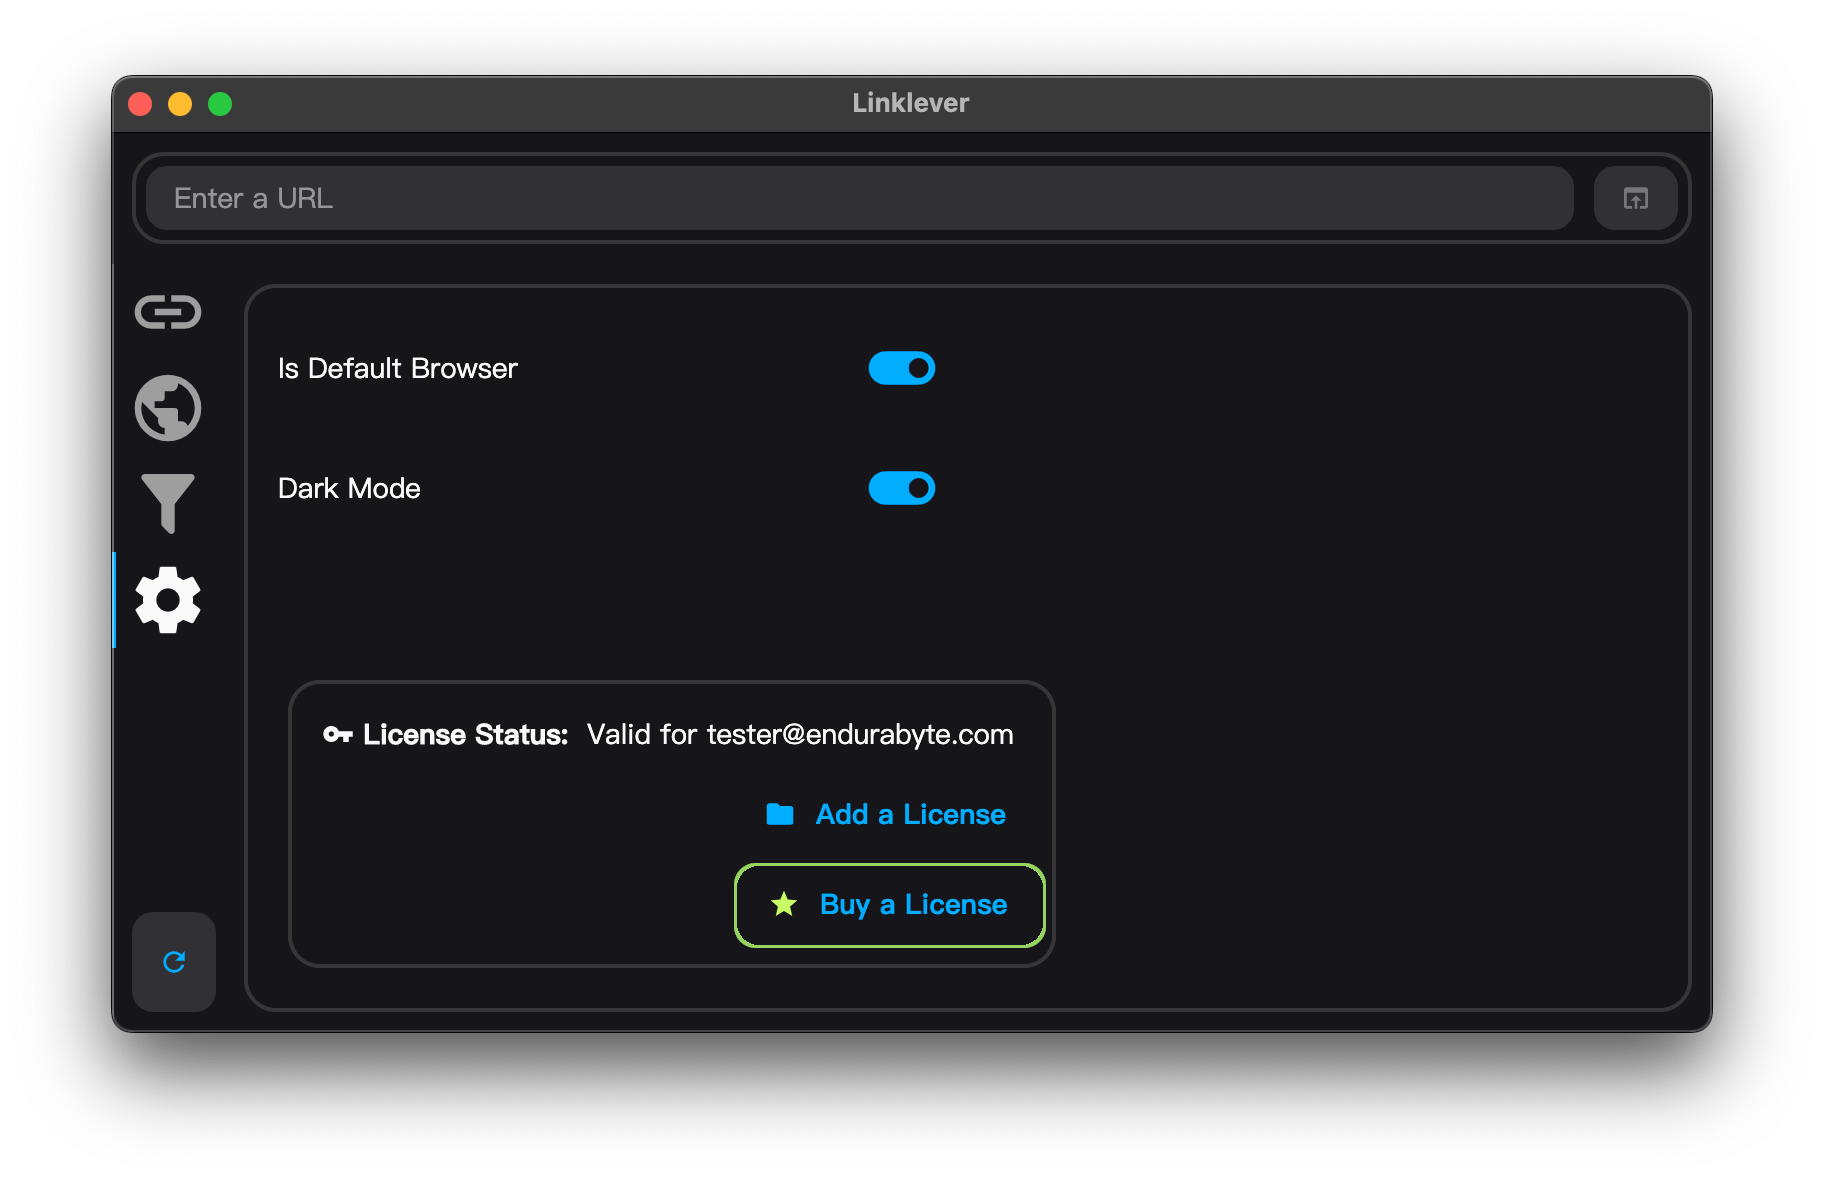
To buy a license, click the buy link. A web page will open to complete the purchase. For more details, follow the Get a License instructions.
Scan
To re-scan for browsers and profiles, click the Refresh button.

Appendix
Pattern editor
A pattern is a string of text to match URLs or apps.
To edit a pattern, click the pencil icon.

Type
Choose the pattern type.
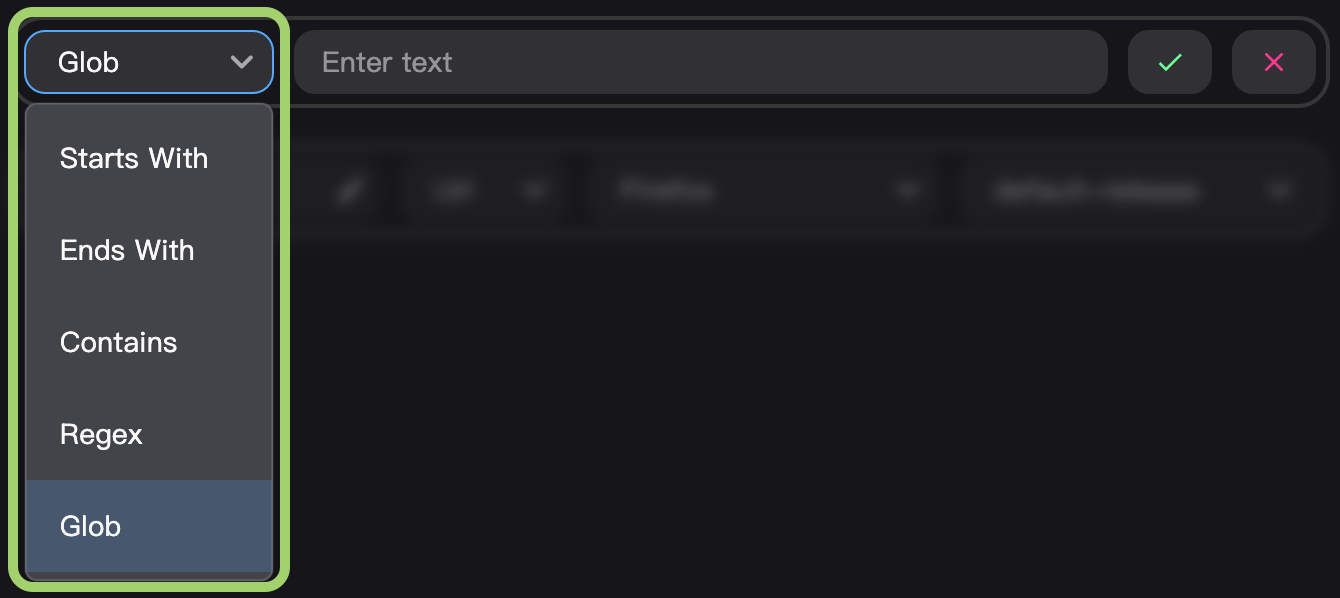
The choices are:
- Starts With matches any URL starting with the string.
- Ends With matches any URL ending with the string.
- Contains matches any URL containing the string.
- Glob. Treats asterisks
*as wildcards. There is an implicit*before and after the given string.- For example,
examplewill match any url containingexample, e.g.example.organdnotexample.com. - For example,
foo*barwill matchfoobaz.comandnotfoobarbaz.org
- For example,
- Regex, i.e. regular expressions. Offers the most flexibility. For help creating these, follow our Regex Guide.
Text
Fill in the text that will match a URL.

Click confirm to apply the changes.

To cancel, click the cancel button.

Regular Expressions
This page will help you add regular expressions in Linklever.
Regular expressions (regexes) can be tricky, but you don’t have to understand them to use them in Linklever. Instead, you can customize the examples here, or you can ask an AI like ChatGPT to create them for you.
Examples
You can customize these examples for your needs.
| Regex | Function | Explanation |
|---|---|---|
^https://example\.com$ | Exact Match | Match a URL, e.g. https://example.com |
^https://subdomain\.example\.com$ | Exact Subdomain Match | Match a URL with a subdomain, e.g. https://subdomain.example.com |
^https://example\.com\/path$ | Exact Path Match | Match a URL with a path, e.g. https://example.com/path |
^(https?:\/\/)?(www\.)?example\.com(\/path)?$ | Optional protocol, www, and path | Match https://www.example.com/path but https, http, www, and /path are optional. |
Asking an AI
AI tools like ChatGPT are effective at generating regexes.
Example Prompt:
Write a regex that matches all the common variations of a domain.
- https://example.com
- http://example.com
- www.example.com
- example.com
Response:
Here’s a regex that matches the variations of the domain example.com as specified:
^(https?:\/\/)?(www\.)?example\.com$Explanation:
^- Asserts the start of the string.(https?:\/\/)?- Matcheshttp://orhttps://, optionally (the?makes it optional).(www\.)?- Matcheswww.optionally.example\.com- Matches the domainexample.com.$- Asserts the end of the string.
Regex quick facts
^means “match a URL starting with”, e.g.^example.commatchesexample.combut notwww.example.com$means “match a URL ending with”, e.g.example.co$matchesexample.cobut notexample.co.uk- Use
\.to match a dot, e.g.example\.commatchesexample.com - Use
\/to match a forward-slash, e.g.example\.com\/pathmatchesexample.com/path - Use
.to match any character e.g.example.commatchesexample.comandexampleZcom. - Use
*to match 0 or more, e.g.a*okmatchesaokandok - Use
+to match 1 or more, e.g.a+okmatchesaokbut notok - Use
?to make something optional, e.g.(https)?matcheshttps://andhttp:// - Use
()to make a group, e.g.(www\.)?example\.commatcheswww.example.comandexample.com - Use
[]to match multiple values, e.g.([\w\d]+)?\.?example\.commatchessubdomain1.example.cometcsubdomain2.example.com - Use
\wto match any letter, a to z or A to Z. - Use
\dto match any number, 0 to 9.
Source Apps
A source app is the app that is active, i.e. has focus, when a link is clicked.
Support for source apps may require some extra setup depending on your operating system.
Windows
No extra setup is required on Windows.
macOS
On macOS, in order to detect which app has foreground, the app must remain running. Is not necessary to leave the app running on Windows or Linux.
When you aren’t using the Linklever window, you can minimize it.
Linux
On Linux, detecting source apps has some prerequisites.
- Only the Wayland display server protocol is supported.
- Only the GNOME or KDE Plasma desktop environments are supported.
GNOME
On GNOME, to determine the active app, Linklever runs the command
gdbus call --session --dest org.gnome.Shell \
           --object-path /org/gnome/Shell/Extensions/Windows \
           --method org.gnome.Shell.Extensions.Windows.List
Therefore Linklever requires the window-calls GNOME extension to be installed.
Installing GNOME extensions requires the GNOME native browser connector and the GNOME browser extension.
- Install the GNOME native browser connector.
- For example:
sudo apt install chrome-gnome-shell.
- For example:
- Install the GNOME browser extension.
- Install the
window-callsGNOME extension.- Click install on the extension page
- Or from a shell:
xdg-open gnome-extensions://window-calls%40domandoman.xyz?action=install
KDE Plasma
On KDE Plasma, to determine the active app, Linklever runs the command
kdotool getwindowclassname $(kdotool getactivewindow)
Therefore Linklever requires kdotool to be installed.
- On Debian/Ubuntu:
sudo apt install kdotool - On Fedora:
sudo dnf install kdotool
Listing Running Apps
When the rule type is App, the rule editor offers to list running apps.
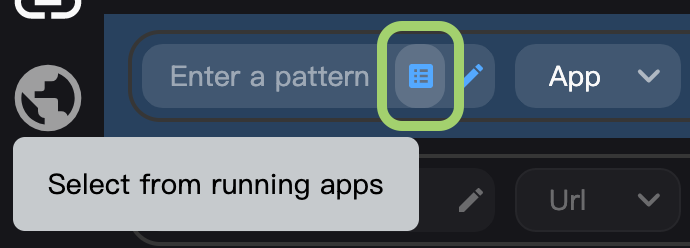
Clicking on an entry will add it to the Pattern field. You can also search.

This may require some extra setup depending on your operating system.
Linux
KDE Plasma
To list all windows, Linklever runs the command
wmctrl -l
Therefore Linklever requires wmctrl to be installed.
- On Fedora:
sudo dnf install wmctrl
Storage
Linklever is completely offline. It never touches the internet, except to auto-update, if allowed in settings.
Note: the portable versions to not auto-update, but they will still check and notify if there is an update.
Locations
Linklever stores all of its data in the following locations.
Windows
$env:LINKLEVER_HOME=%localappdata%/Linklever
macOS
export $LINKLEVER_HOME=~/Library/Application Support/linklever
Linux
export $LINKLEVER_HOME=~/.local/share/Linklever
Logs
Linklever writes logs to $LINKLEVER_HOME/Logs
Database
Linklever writes all data to an ordinary unencrypted sqlite database in $LINKLEVER_HOME/app.db.